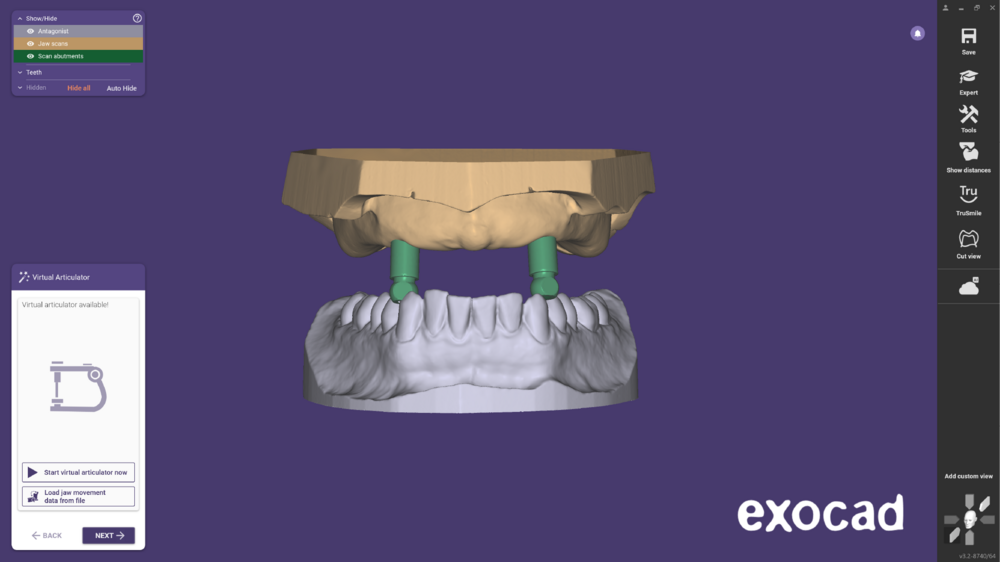
Below you will find a guided workflow for overdentures on ball attachments for the design of the final or temporary denture.
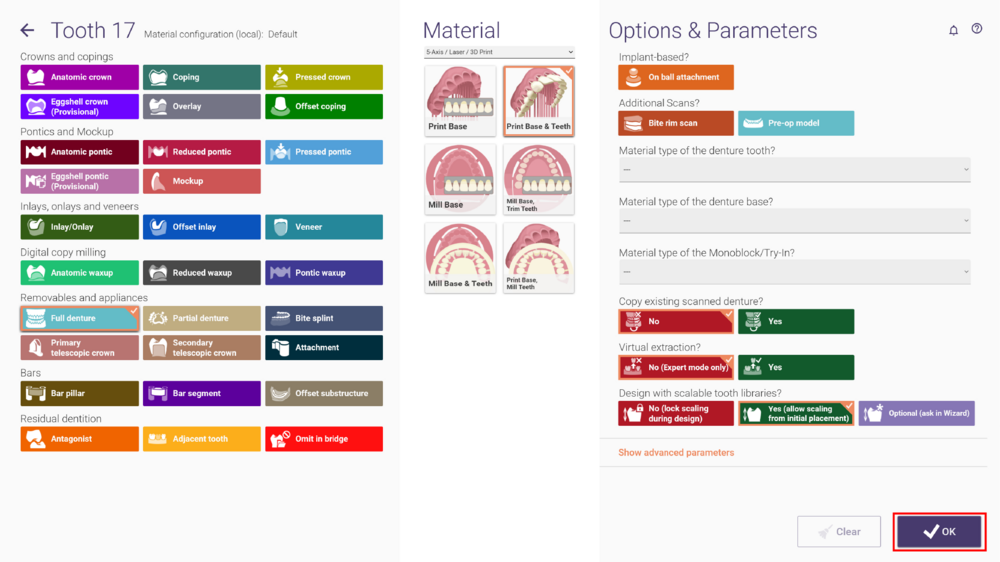
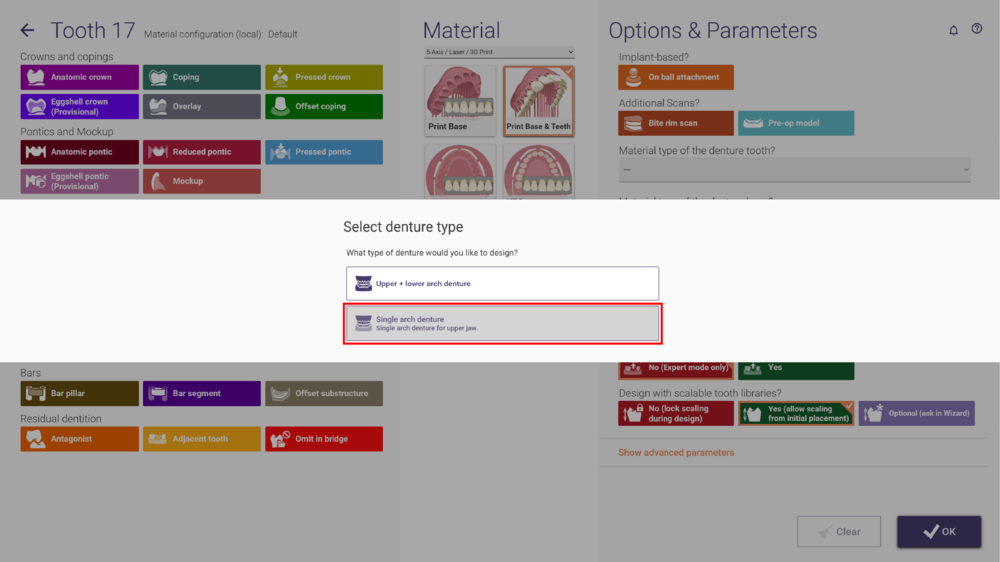
- Launch DentalDB and start by specifying the work type as "Full Denture" for the upper jaw. Click on tooth 17, define the material, and proceed by clicking OK.
- When prompted to select the denture type, choose Single arch denture. The application will automatically select the full denture in the upper jaw and the antagonist in the lower jaw.
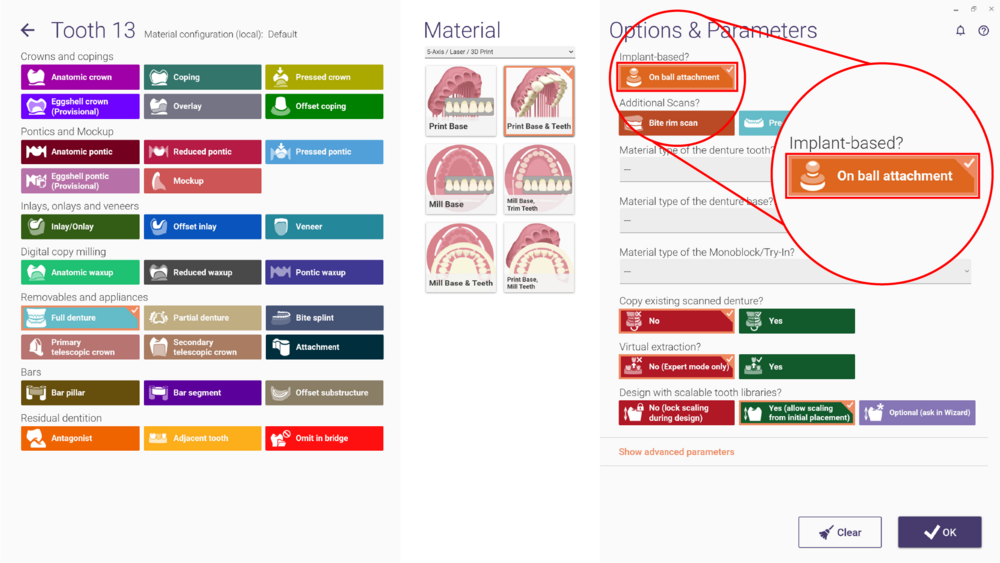
- Select the teeth designated for ball attachments. Choose the option On ball attachment under implant based.
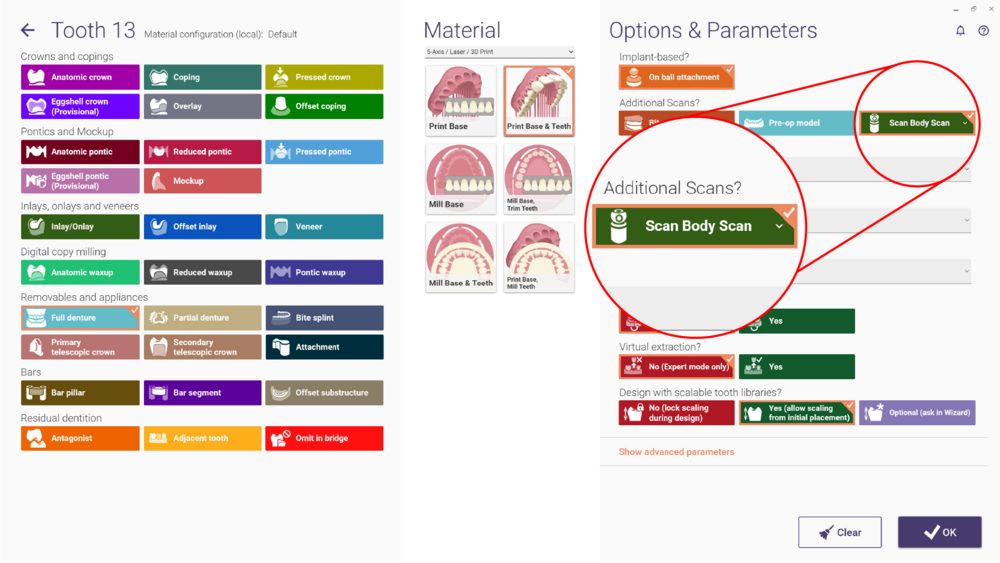
- Moreover, under Additional scan, select Scan Body Scan. Confirm the changes by clicking OK. When prompted with the message about denture options, select On currently selected tooth only to apply exclusively to the chosen tooth. Repeat this process for tooth 23.
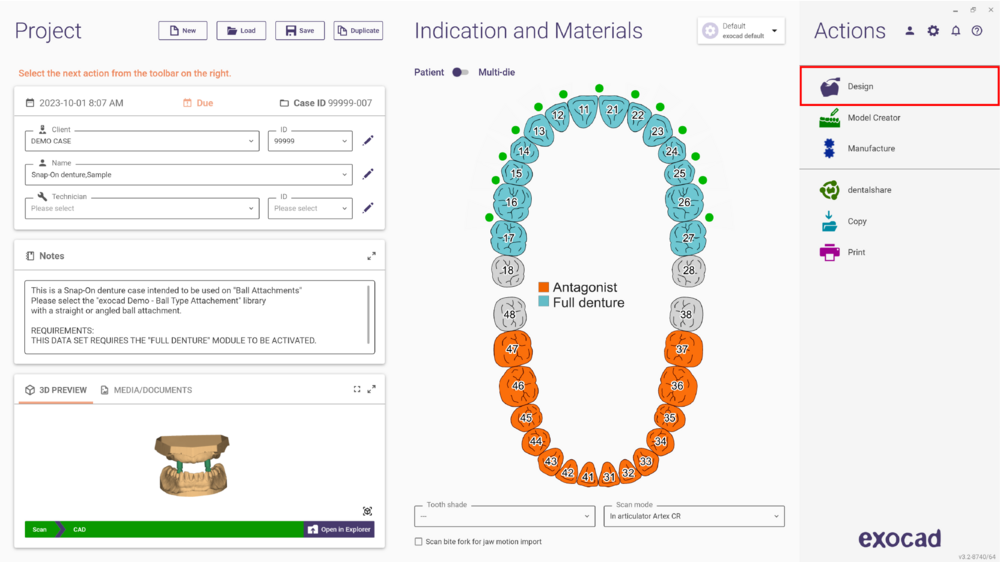
- Select Design to launch DentalCAD, initiating the design.
- The Wizard starts with the virtual articulator step.
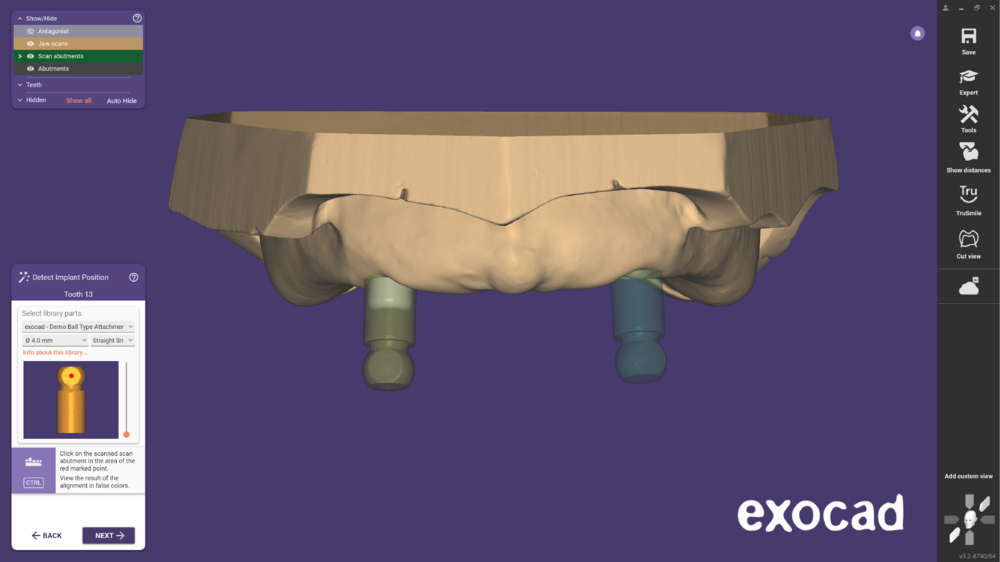
- In the Detect Implant Position, choose the appropriate library and perform the matching as usual.
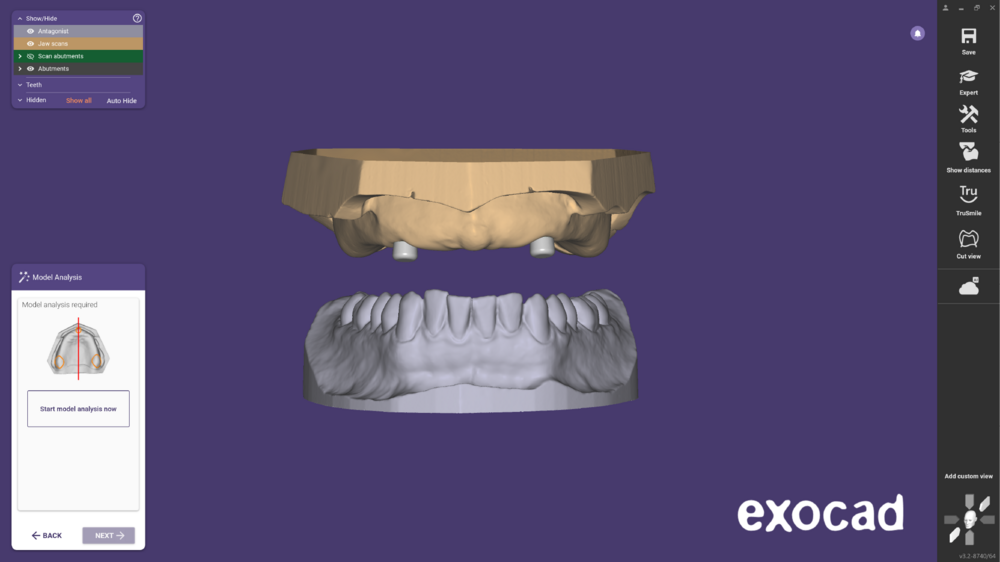
- Continue with the standard denture design steps. Start with the Model analysis.
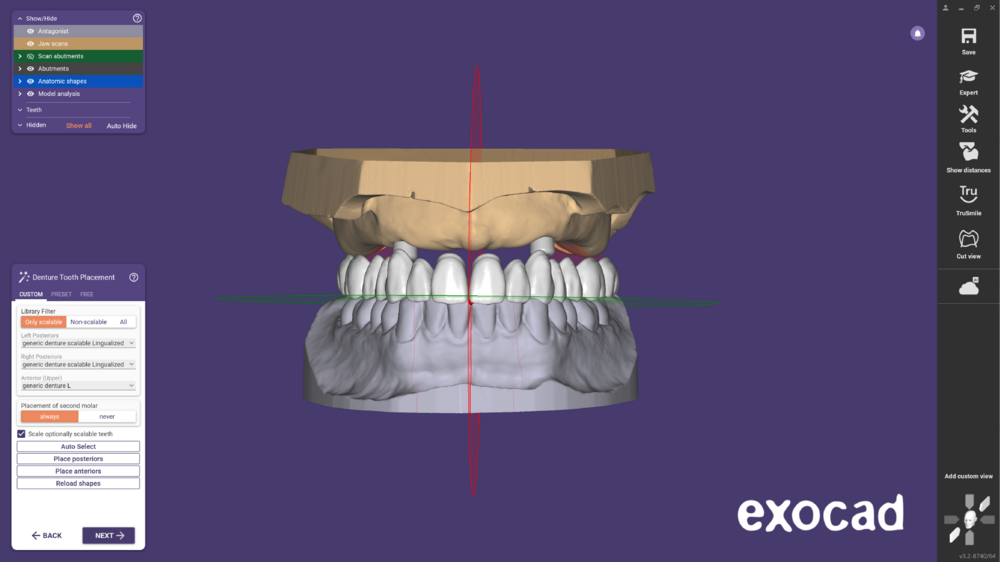
- Then, with the Denture tooth placement choose a set of teeth from the library.
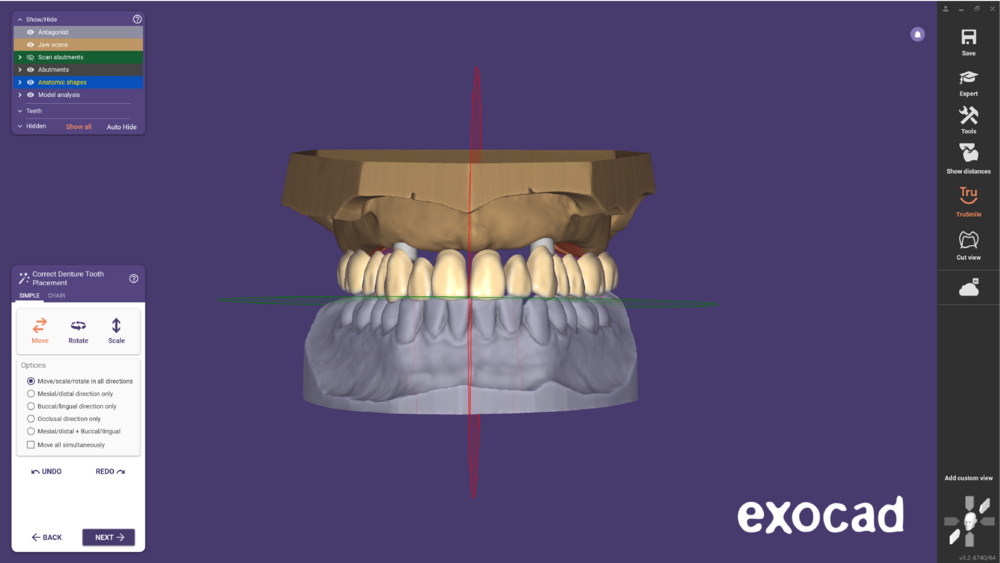
- Affter that, Correct Denture Tooth Placement.
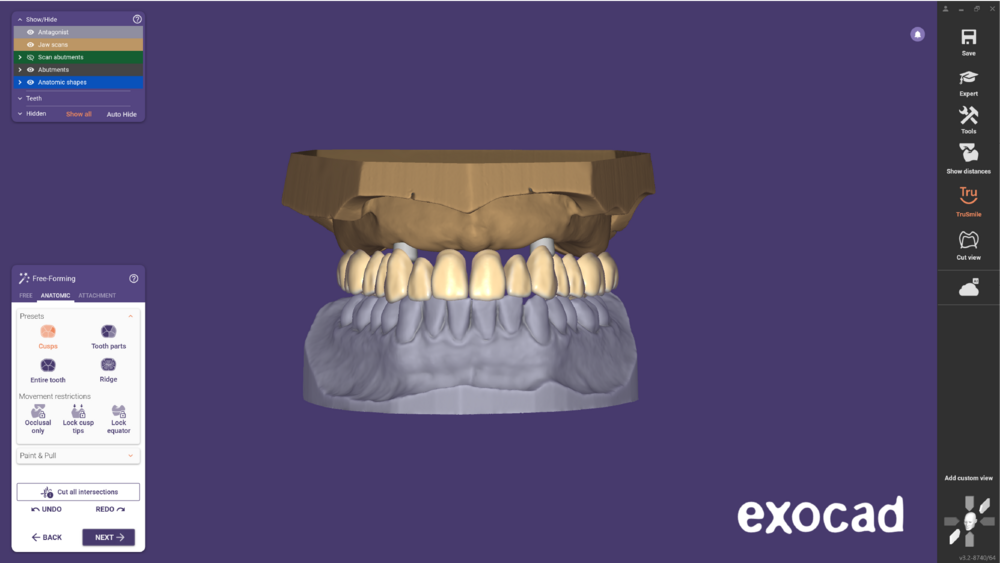
- Clicking next, the Freeforming tools are available to modify the denture design.
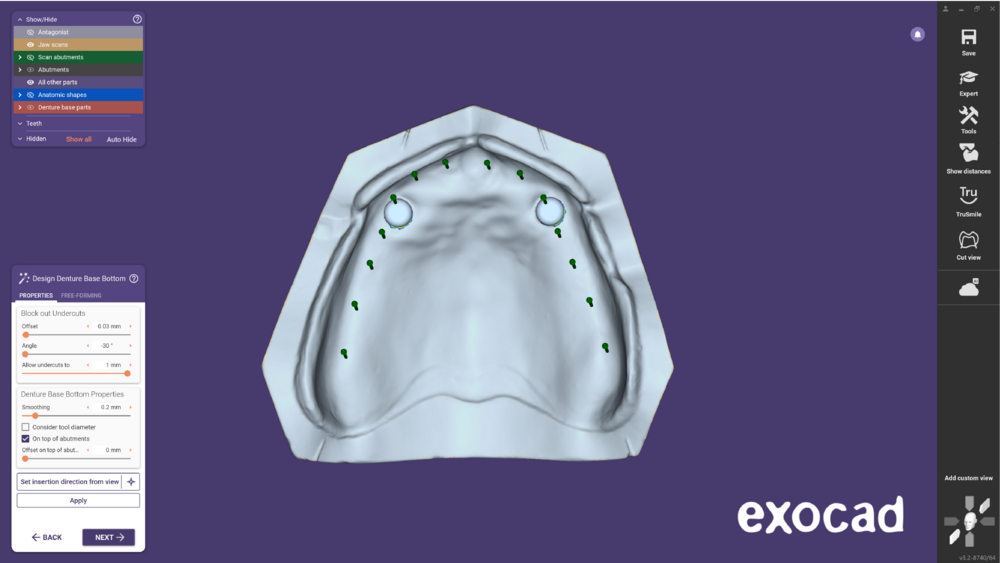
- Proceed by designing the Denture Base Bottom.
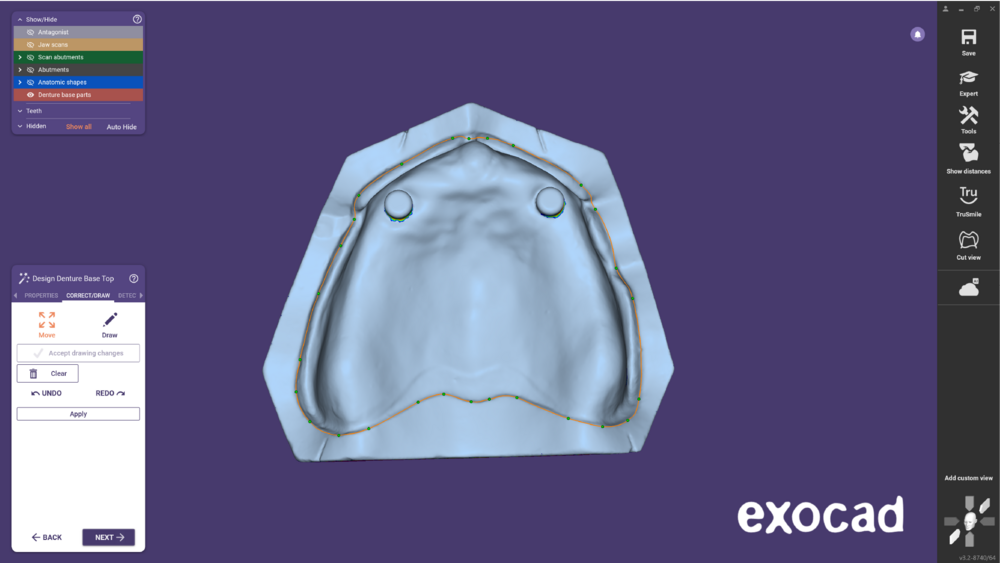
- Followed of the Design Denture Base Top.
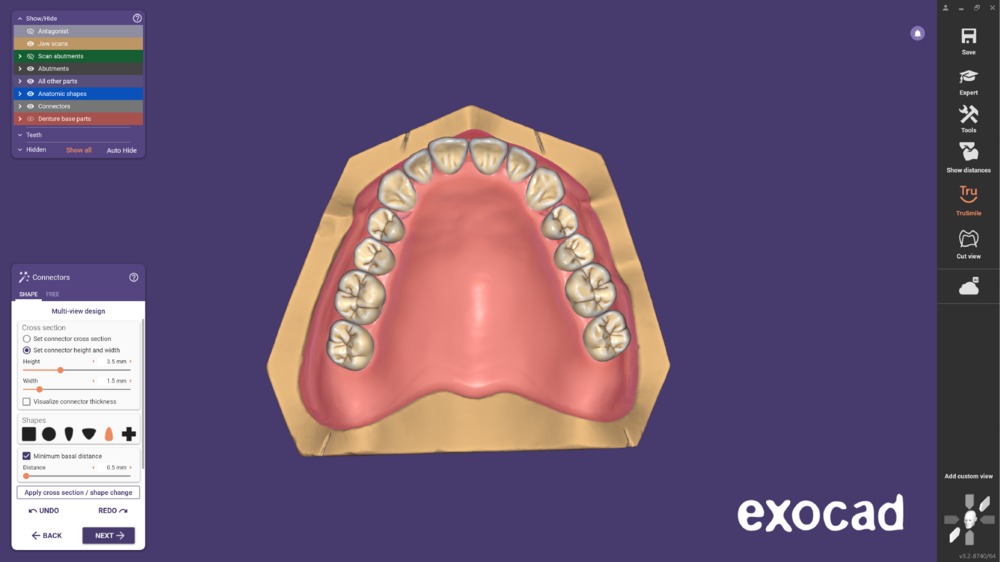
- Continue Generating connectors.
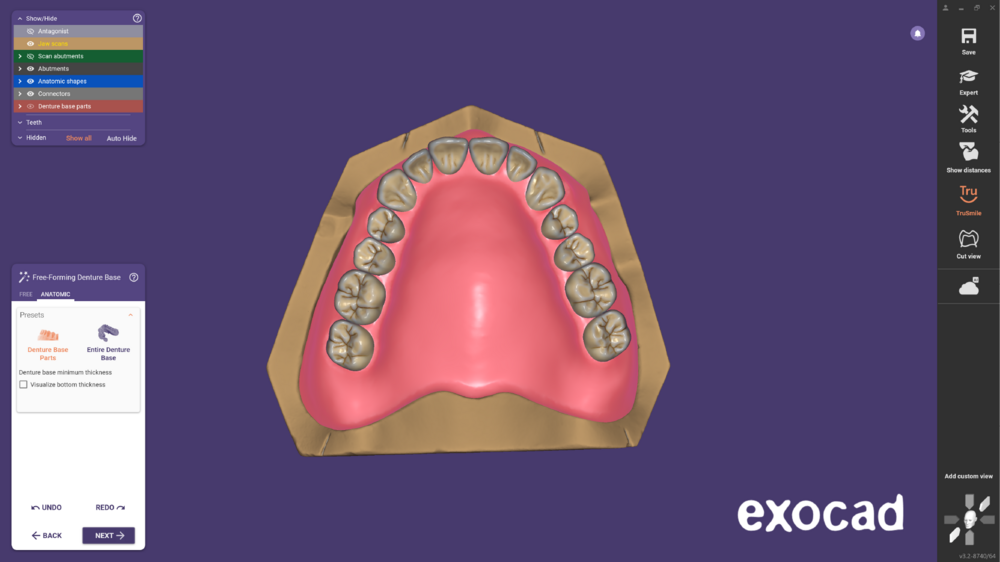
- Then, Free-Forming Denture Base.
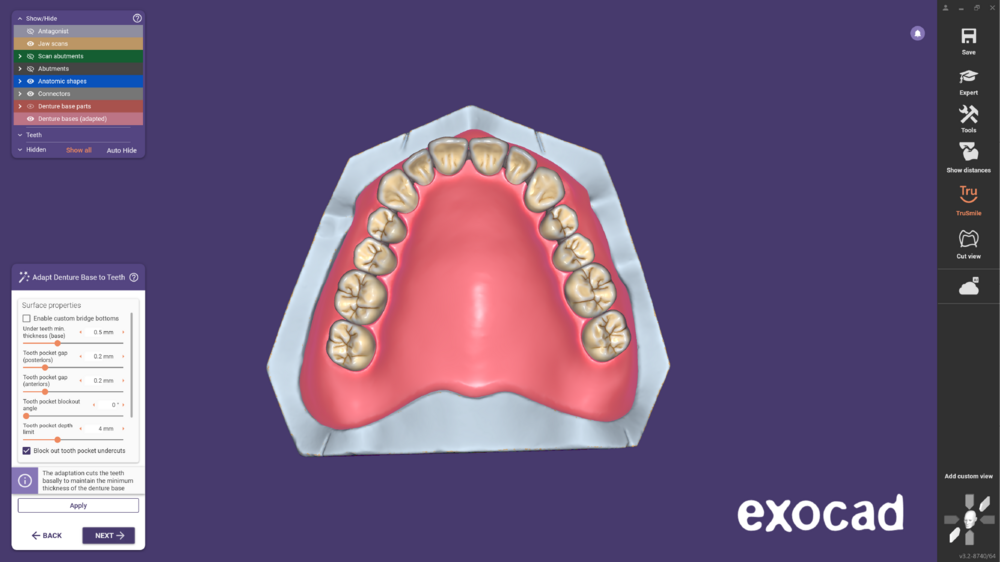
- Clicking next, enter the Adapting denture base to teeth.
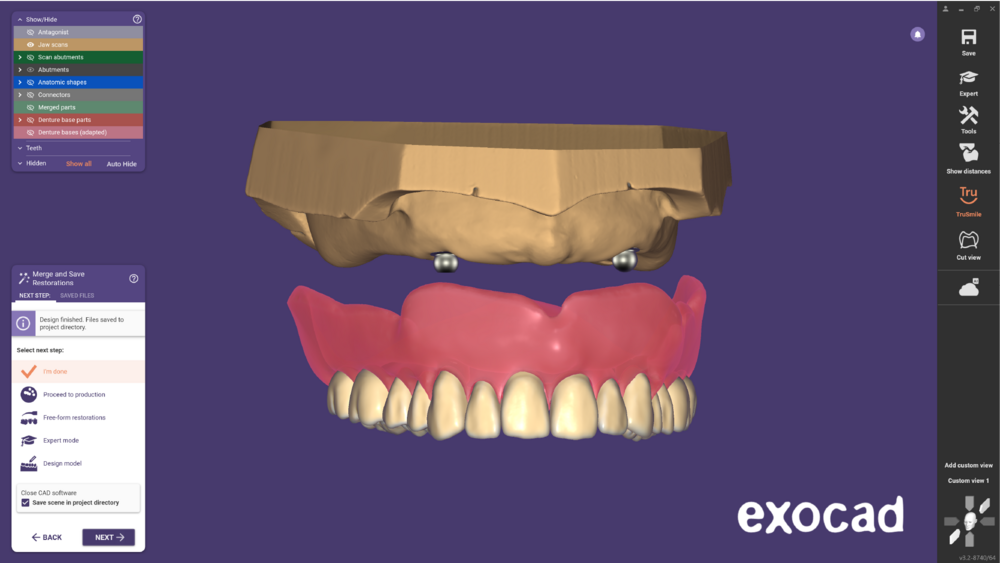
- Finally, reach the Merge and Save restorations. Choose one of the options to proceed.


