Welcome to the guided workflow for creating an Ivotion denture.
Before starting, please activate the required modules (Full denture and Full Denture ivotion) by contacting your reseller or purchasing directly on our webshop Full Denture Ivotion Add-On and Full Denture module. Contact Ivoclar at [email protected] for the additional tooth library and system requirements for production.
If you have additional queries, refer to the Ivotion Denture System's Frequently Asked Questions FAQ .
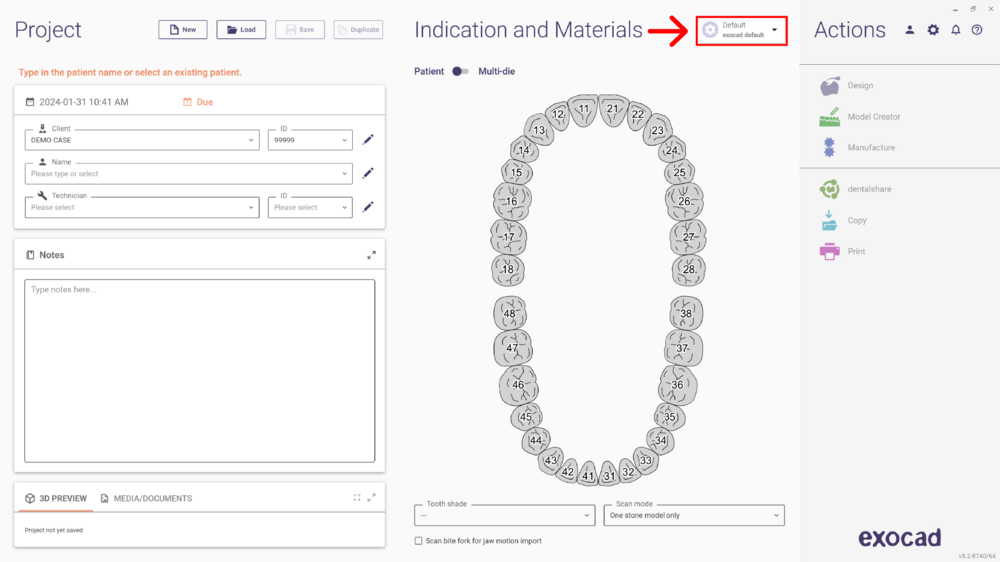
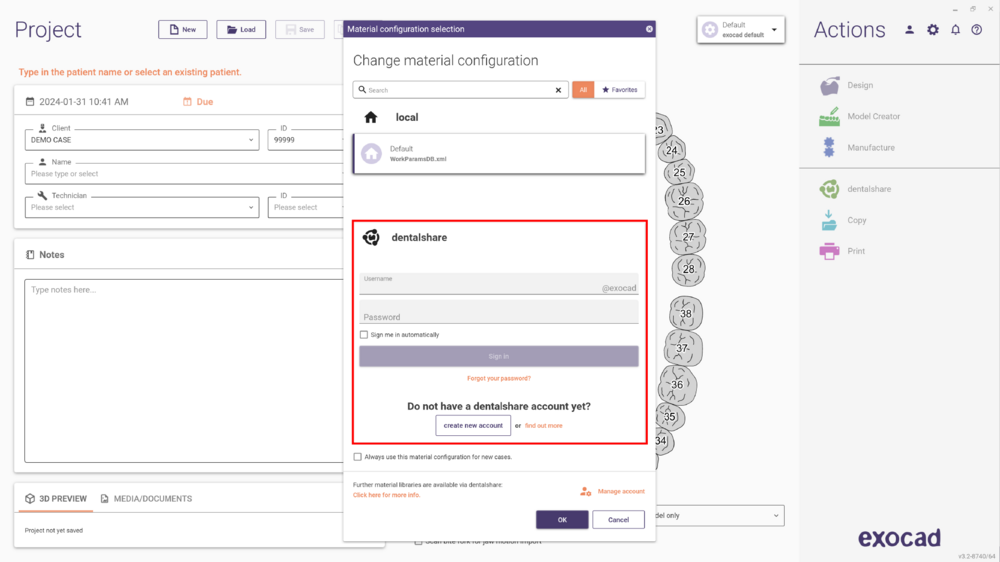
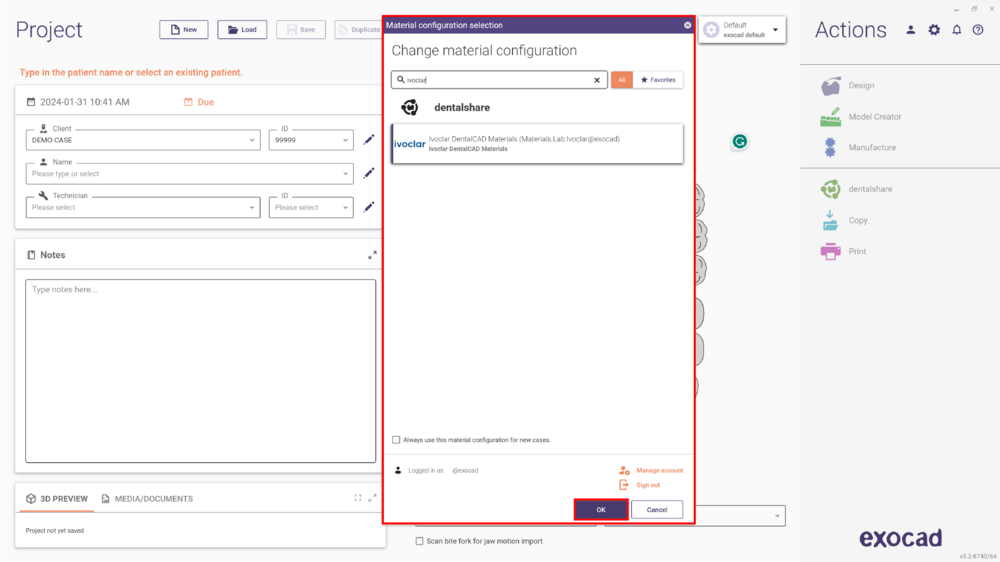
- Launch DentalDB and begin by adjusting the Material Configuration Selection to Ivoclar.
- Ensure you are logged in to the dentalshare account to access the material configuration list.
- Then, select Ivoclar and click OK to apply the changes.
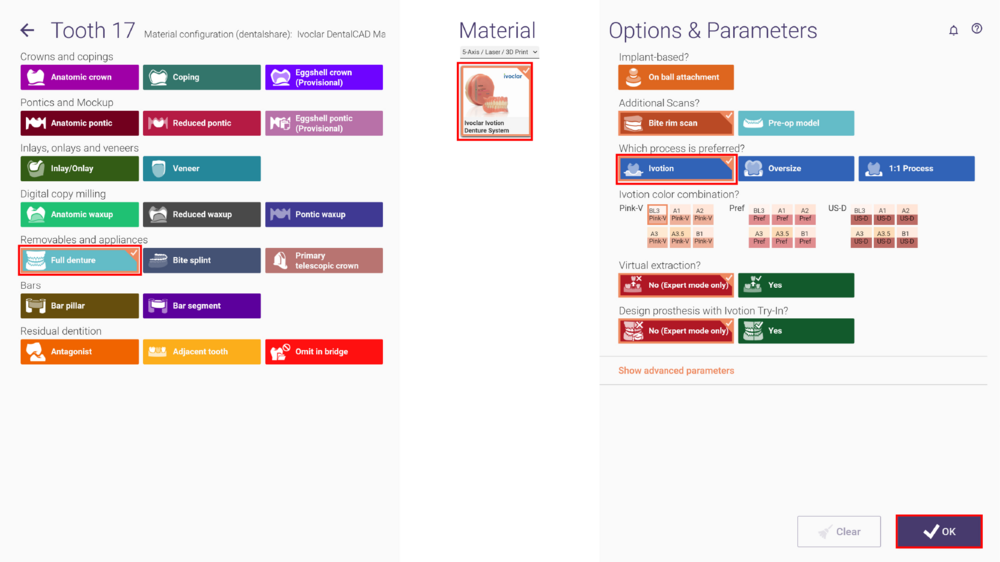
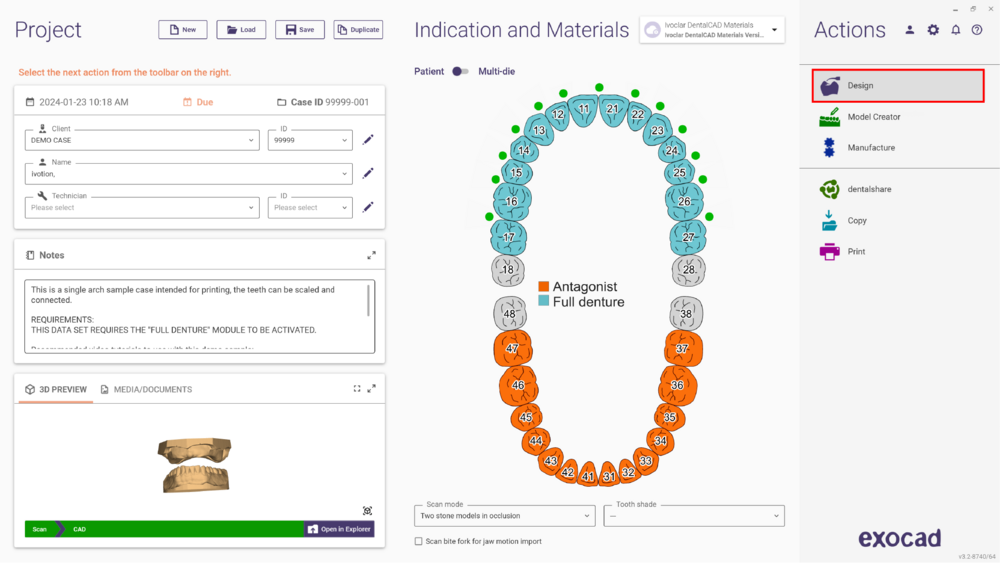
- Click on any tooth, specify the work type as Full Denture, set the material as Ivoclar Ivotion Denture System, and choose the preferred process as Ivotion. Proceed by clicking OK.
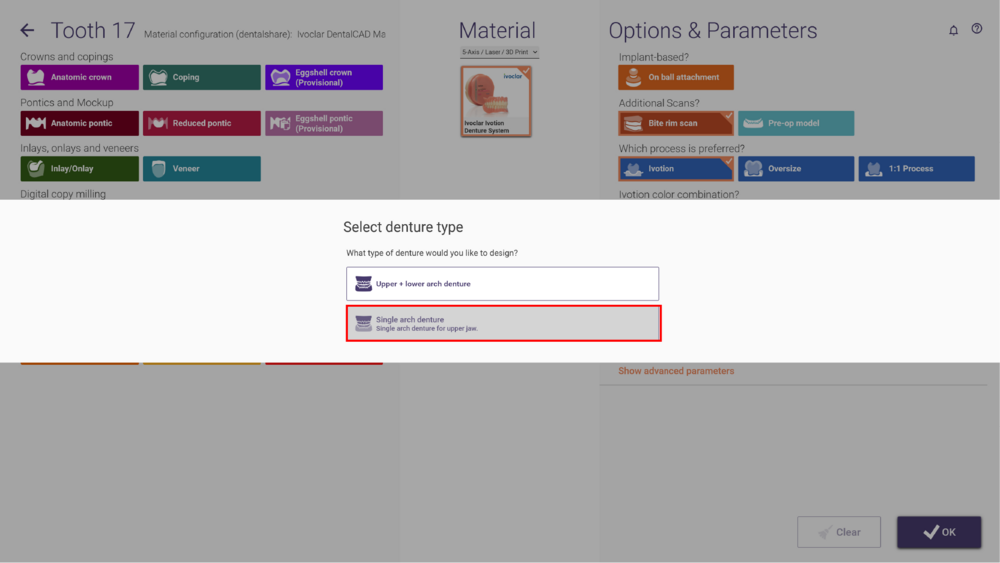
- When prompted to select the denture type, in this case, opt for Single Arch Denture. The application will automatically choose the full denture in the upper jaw and the antagonist in the lower jaw. Keep in mind that you can also select the option Upper + Lower Jaw dentures if the situation demands.
- Select Design to launch DentalCAD and initiate the design process.
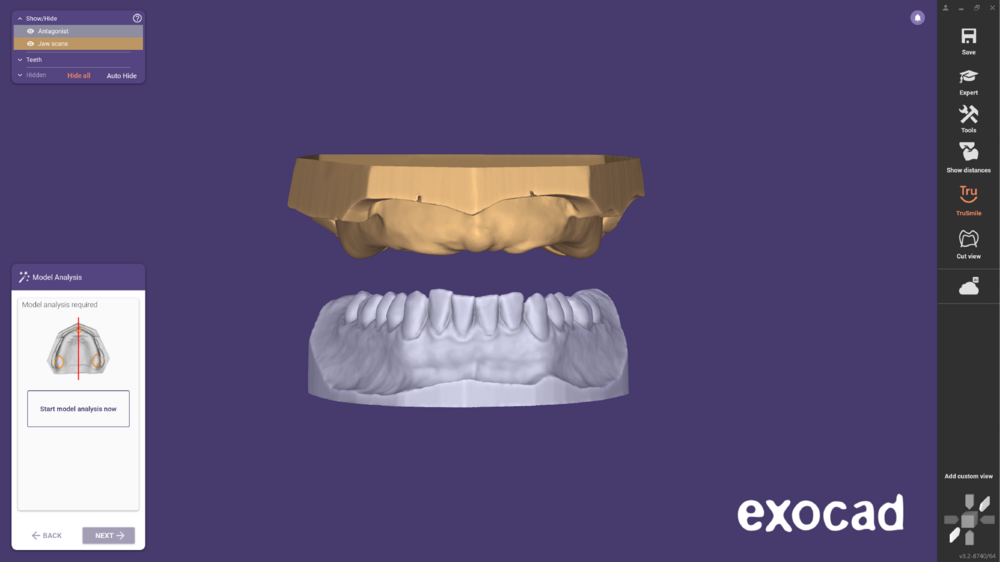
- The Wizard will start with the Model analysis step. Follow the usual steps and click Next to proceed.
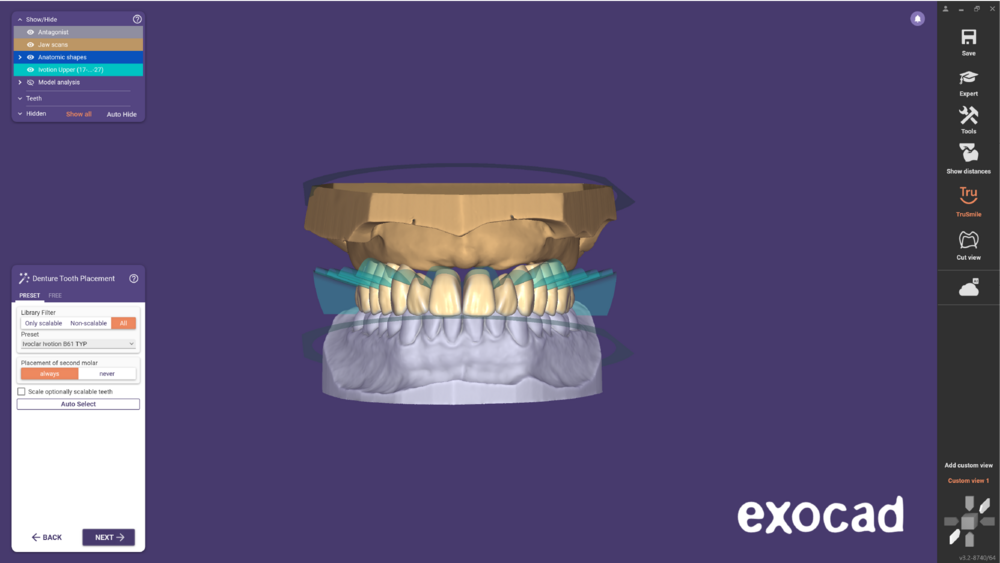
- In the Denture tooth placement step, choose a set of teeth from the library. The Ivotion set of teeth has a shell geometry that separates the tooth color from the gingiva.
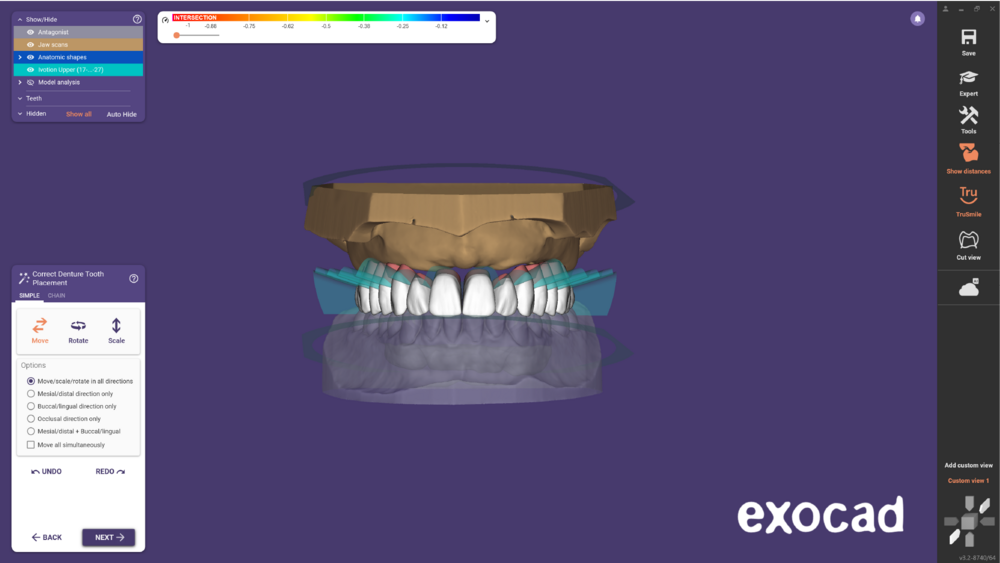
- Proceed by clicking Next to the Adjusting denture tooth placement.
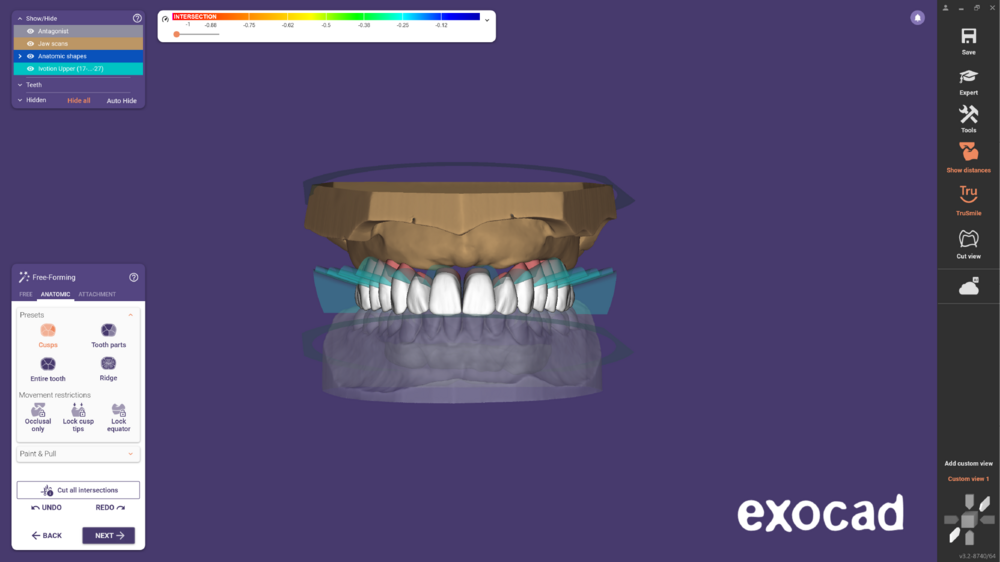
- In the next step, utilize the Freeforming tools to modify the denture design.
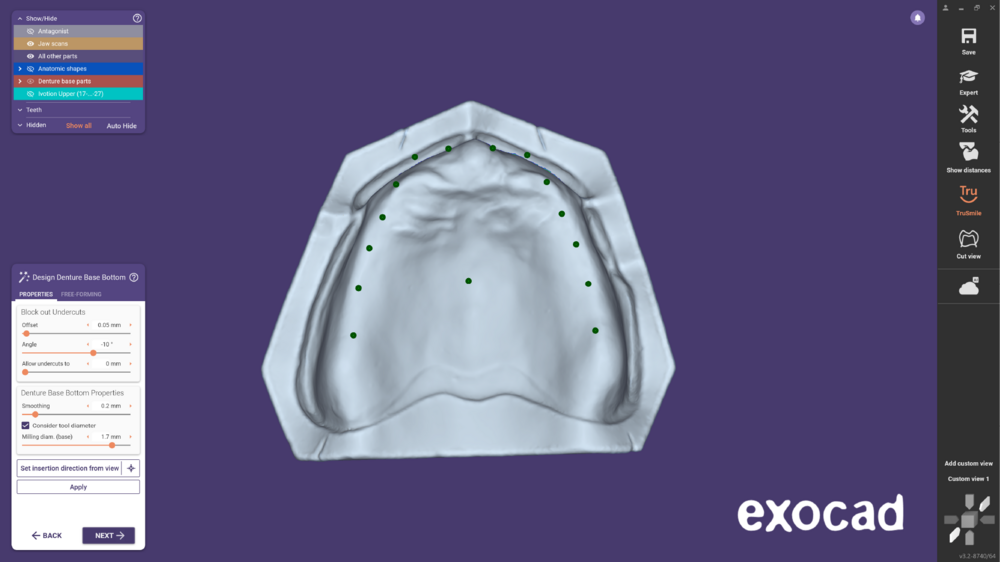
- Move on to designing the Denture Base Bottom.
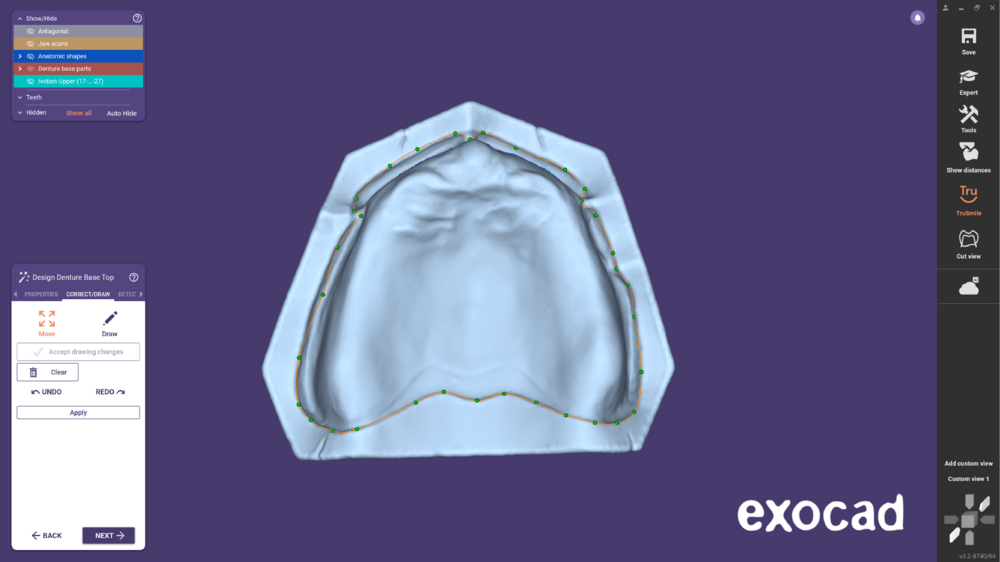
- Followed by the Design Denture Base Top.
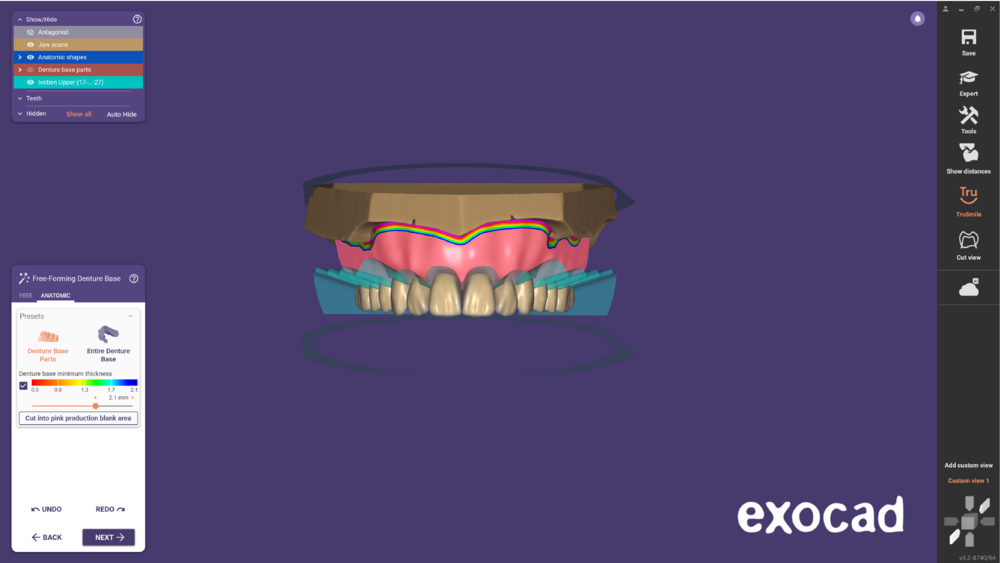
- Continue with Free-Forming Denture Base.
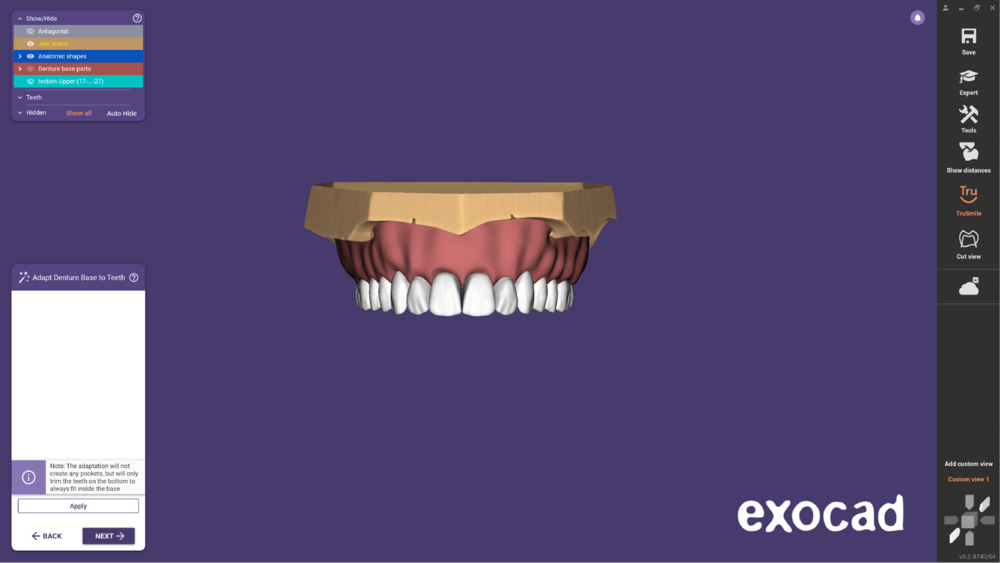
- Click Next to enter the Adapting denture base to teeth. Note that the adaptation will not create any pockets but will only trim the teeth on the bottom to always fit inside the base.
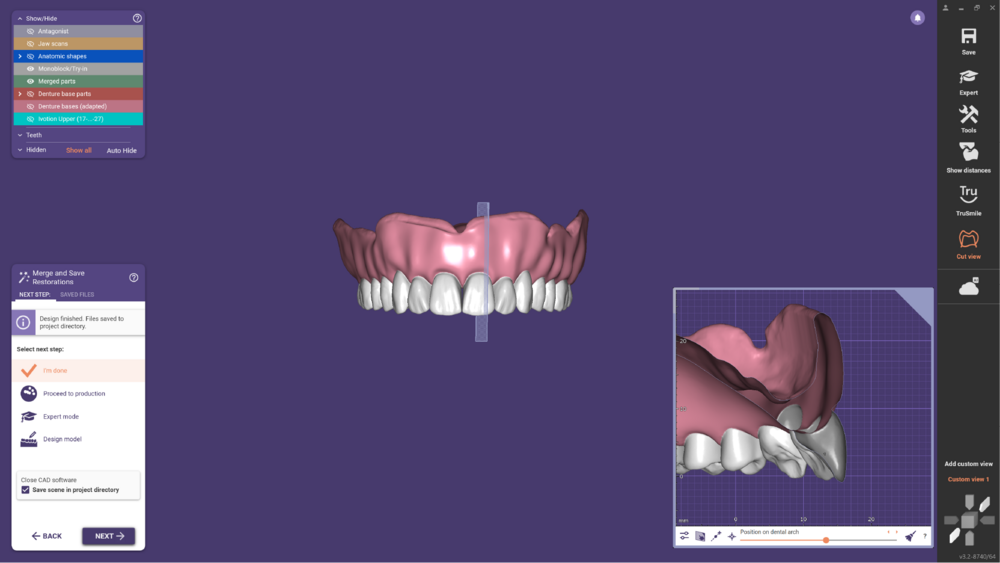
- Finally, reach the step for Merge and save restorations. As you can see, the final denture is merged as a "watertight" mesh. Choose one of the options to proceed.


