Using this tool, you can add 2D images to your 3D scene. Clicking Add a Picture opens the 2D Image Loader window.
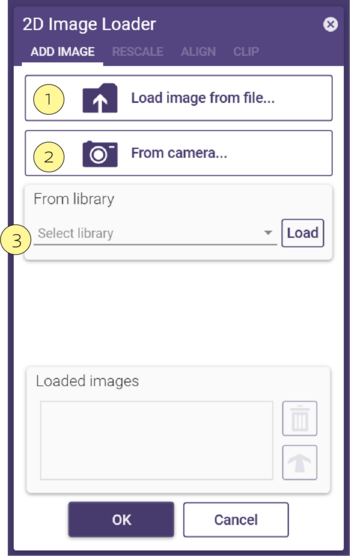
To load an image file, select Load image from file [1] and select the desired image file in the explorer window. Alternatively, you can drag&drop an image file into the main view, copy&paste an image file into the main view, or drag the path to an image file into the main view. To directly capture an image using your PC camera, click From camera [2] To load a golden ratio visualizer, select Load Golden Ratio from the library dropdown menu [3].
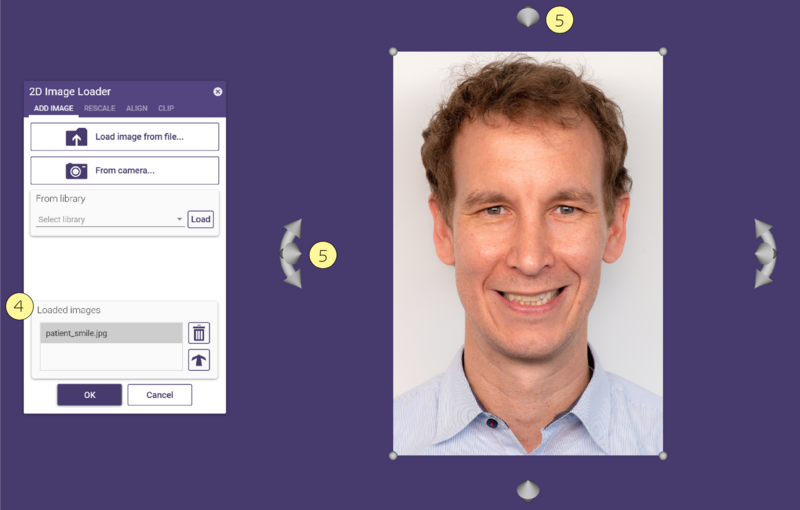 Use the arrow controls at the sides of the image to rotate it. Move the image by dragging it with your mouse. Scale the image
by dragging the spheres at the image corners.
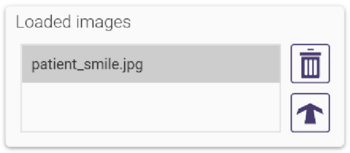
You can load multiple images. The Loaded Images [4] section of the 2D Image Loader window lists all loaded images. Select the image you want to display or perform actions for, in this list. To delete an image, click the trashcan icon. By clicking the arrow icon [5], you can align the image frontal to the view position. Alternatively, double-click the image.
Rescaling an Image
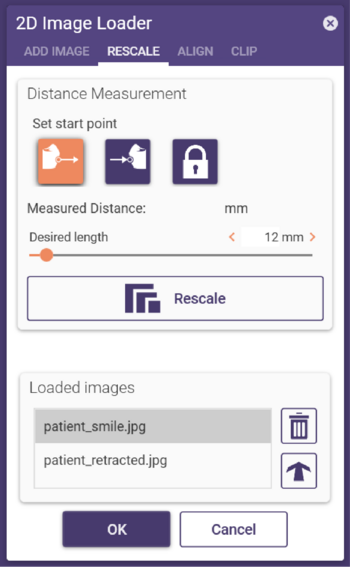
Using the Rescale tab you can rescale an image to a measured distance:
Step 1: Click a start point and an end point in the image to measure a distance.
Step 2: Set the desired distance for the measured distance using the slider Desired length.
Step 3: Click Rescale. The initially defined distance now matches the desired distance.
Aligning an Image
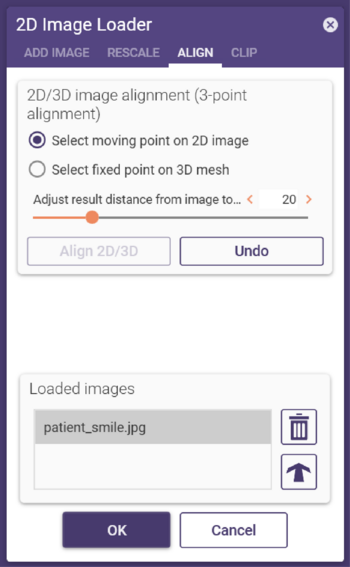
Using the Align tab, you can align an image to a mesh.
Step 1: Define three point pairs by clicking the image and corresponding points on the scene mesh.
Step 2: Define the desired distance from the image to the mesh using the slider Adjust result distance from image to mesh.
Step 3: Click Align 2D/3D.
Clipping an Image
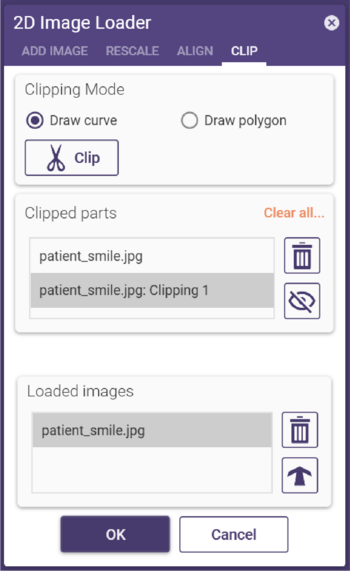
Using the Clip tab, you can cut areas of an image, and the image will become transparent in this area. You can define the area by drawing a curve or a polygon.
To draw a curve, select the radio button Draw curve, and set curve points by clicking the image. To draw a polygon, select Draw polygon and click points to define the polygon’s edges. In both modes, double-clicking connects the first and last point. Click Clip to cut out the drawn area.
You can define multiple clipping areas. These will be listed in the Clipped Parts section. To delete a clipping area, select it in the list and click the trashcan icon. To show/hide the clipped part, click the visibility icon.


