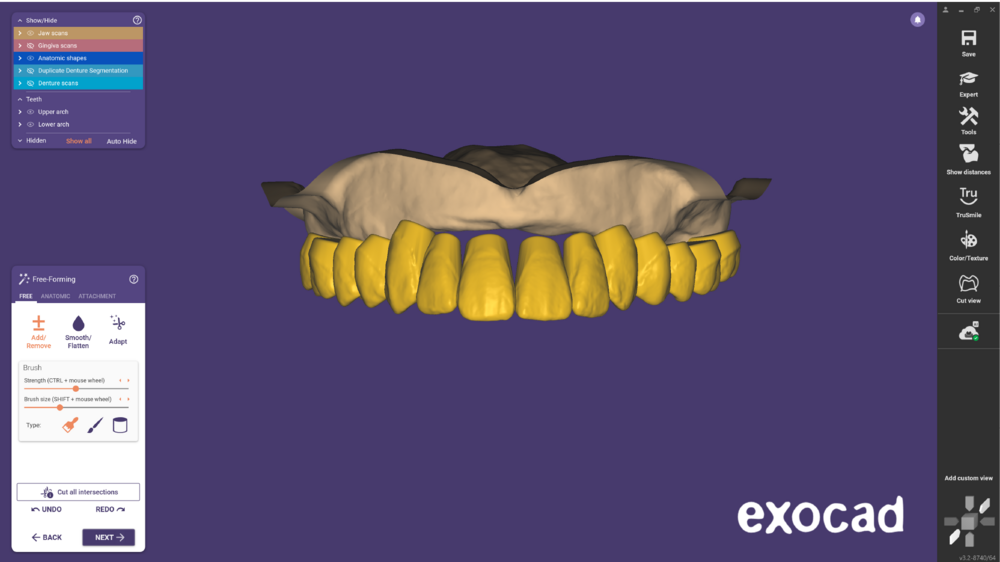
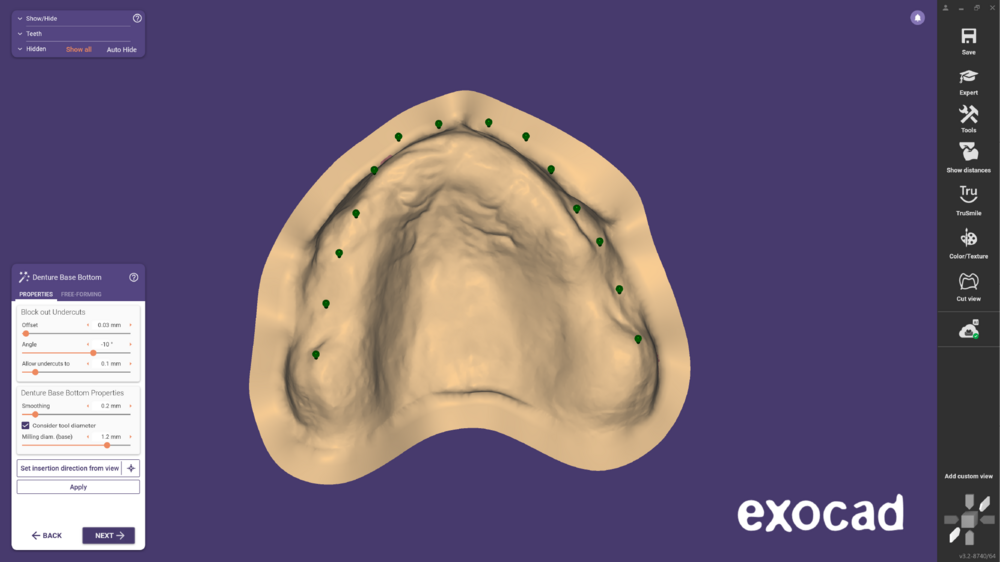
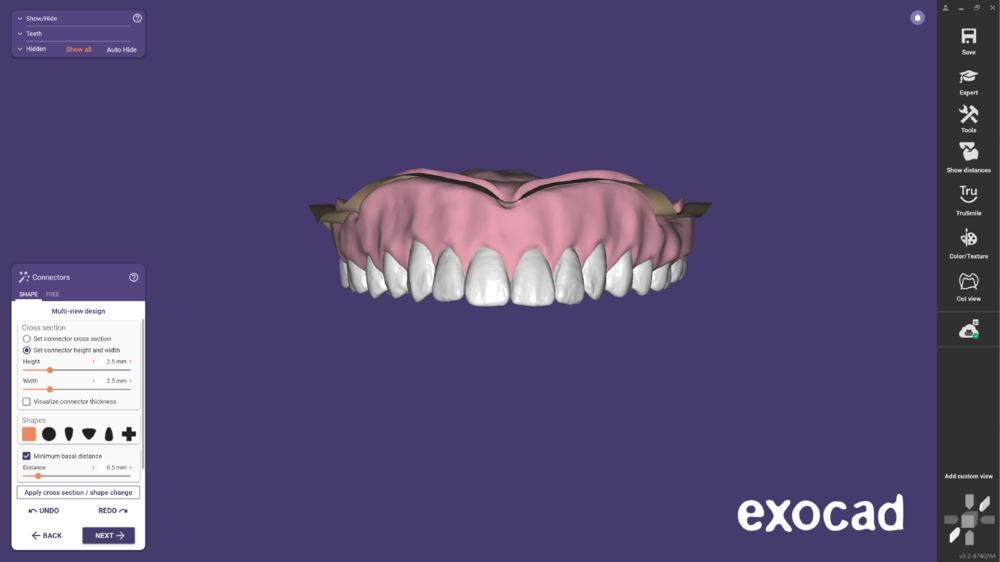
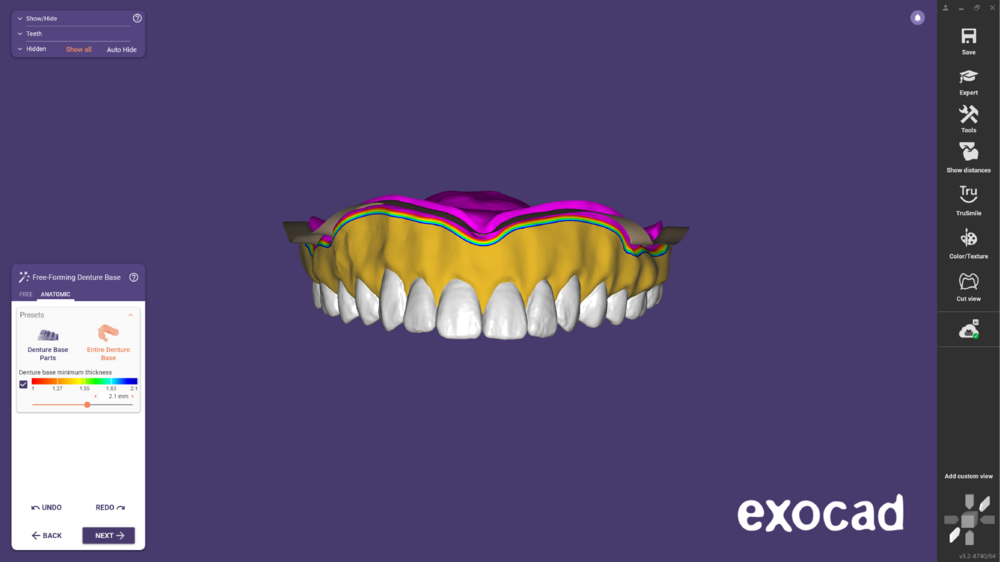
With the duplicate denture option, reproduce the patient's existing denture, considering the new anatomical situation, in a highly automated workflow. After the tooth segmentation, the teeth can also be adjusted to change the existing design. Instead of relining an old denture, rapidly and inexpensively produce a new one.
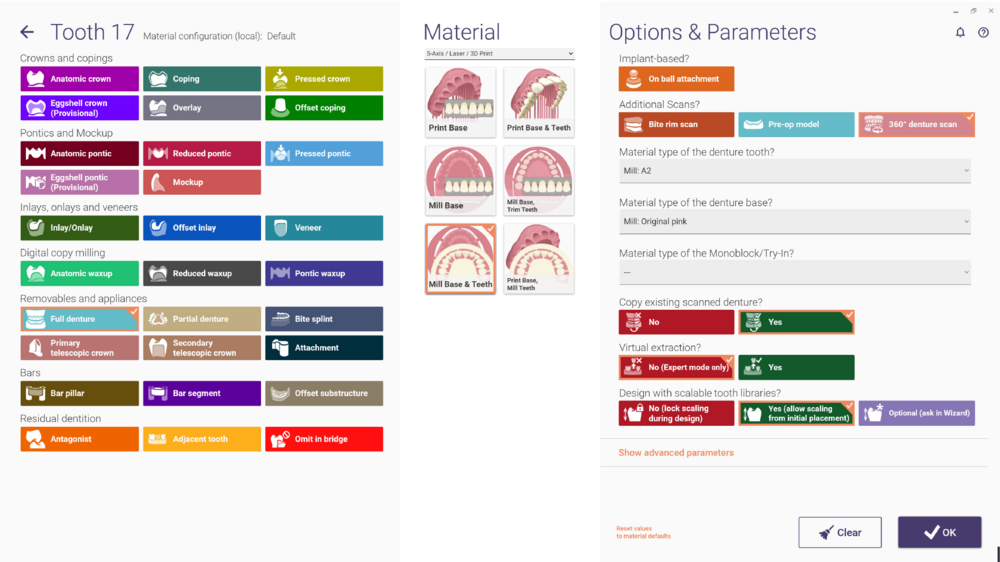
- In DentalDB, select the specifications as usual for the Full Denture. You will need an additional Scan, the 360° denture scan. In the Copy existing scanned denture? section, select Yes. Click OK to continue.
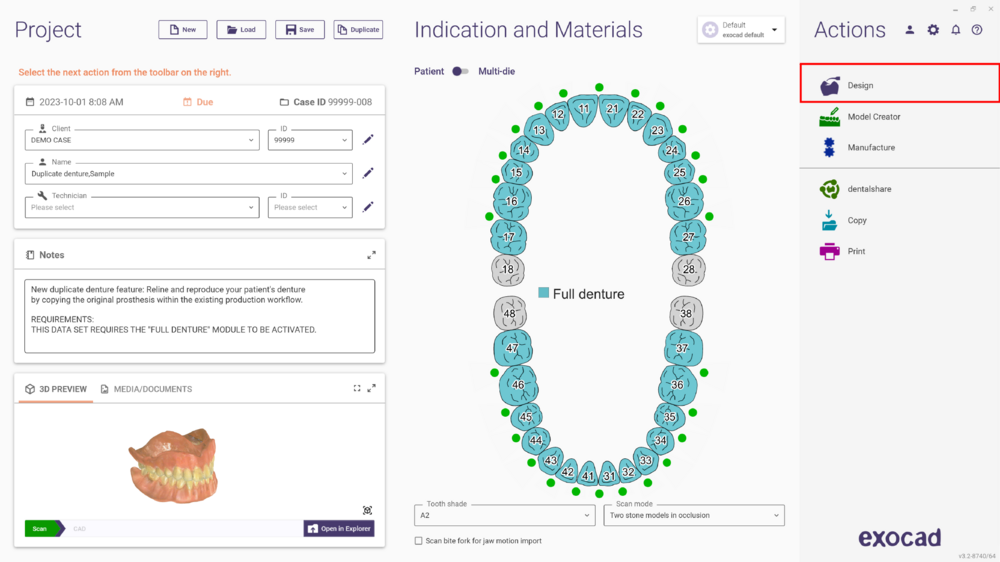
- Select Design to start the DentalCAD.
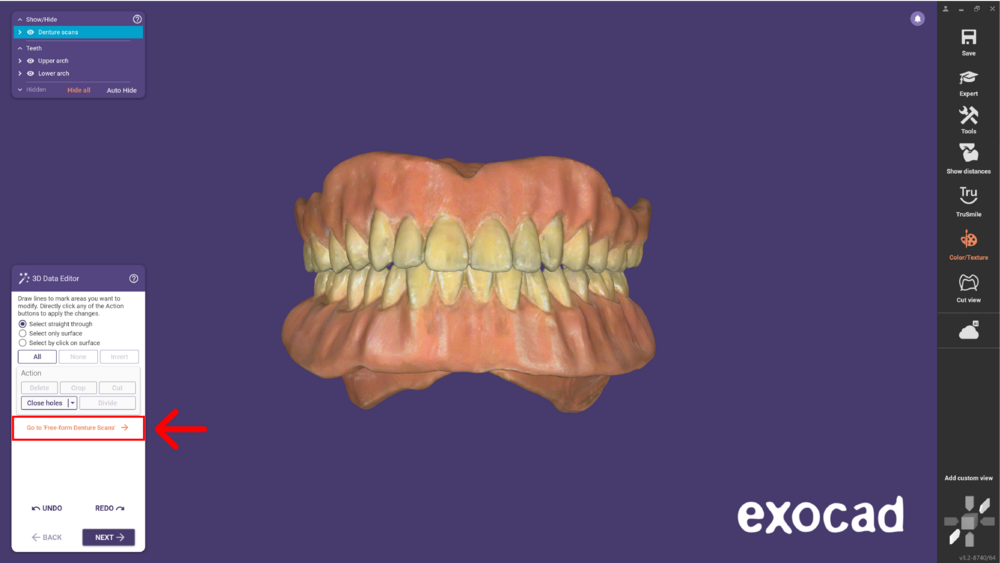
- The first step is the 3D Data Editor, which allows you to edit the mesh. You can also open the Free-form Denture Scans in this step.
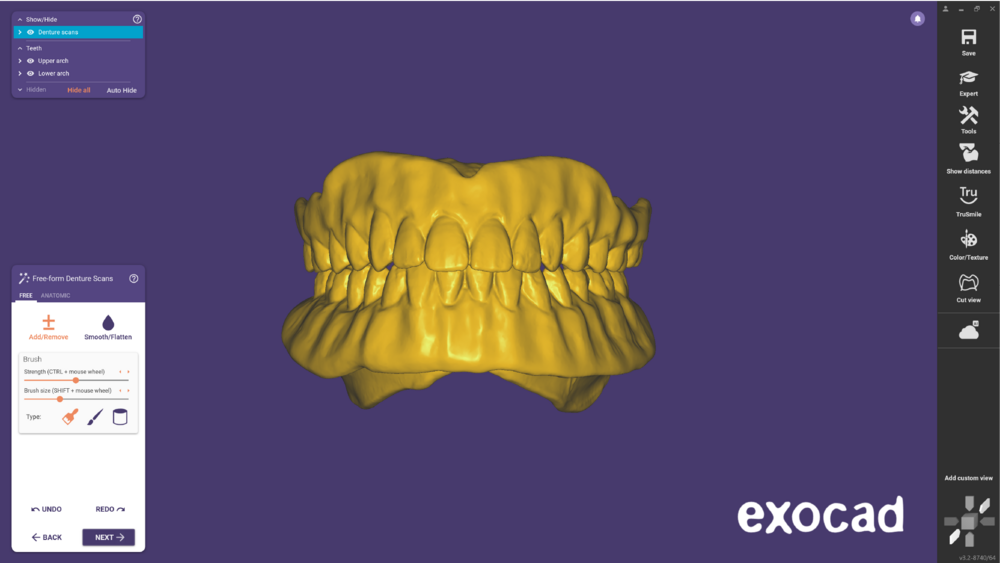
- Use Free-form Denture Scan step to make the necessary changes. Check this page for further information using this tool.
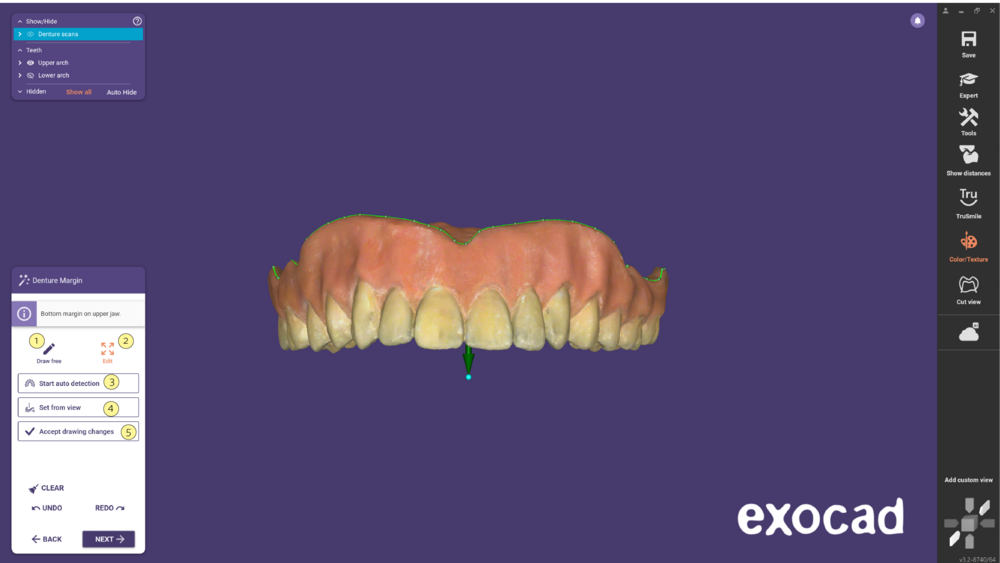
- In the next step, the margin of the denture is automatically detected. You can make the necessary adjustments using the Draw free [1] option or Edit [2]. Use the Start auto detection [3] button if it’s not detected automatically. Use the Set from view [4] option to adjust the insertion direction. Click Accept drawing changes [5] to generate the jaw scan.
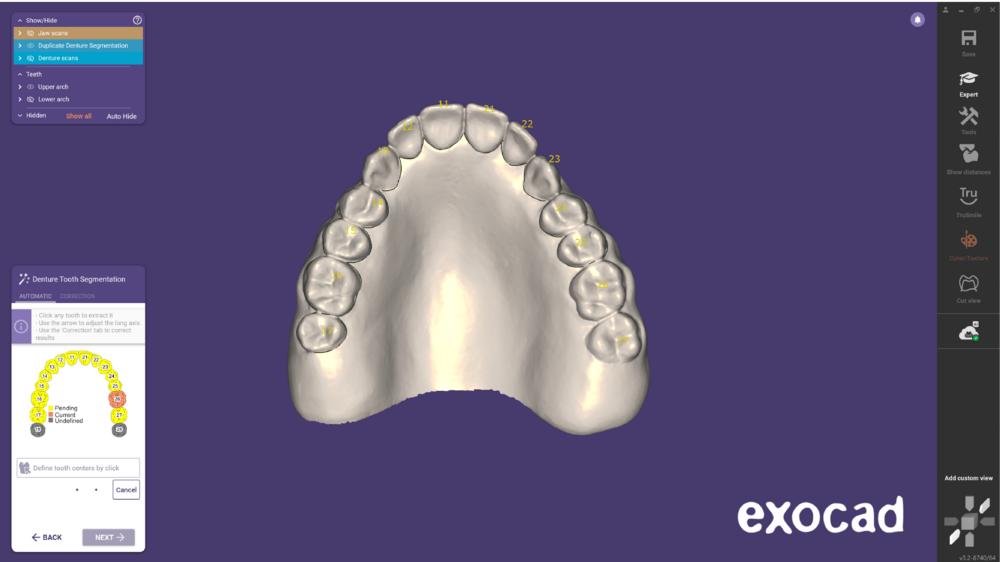
- Clicking next you will enter the Denture tooth Segmentation step. If the Cloud services are enabled, the segmentation starts automatically.
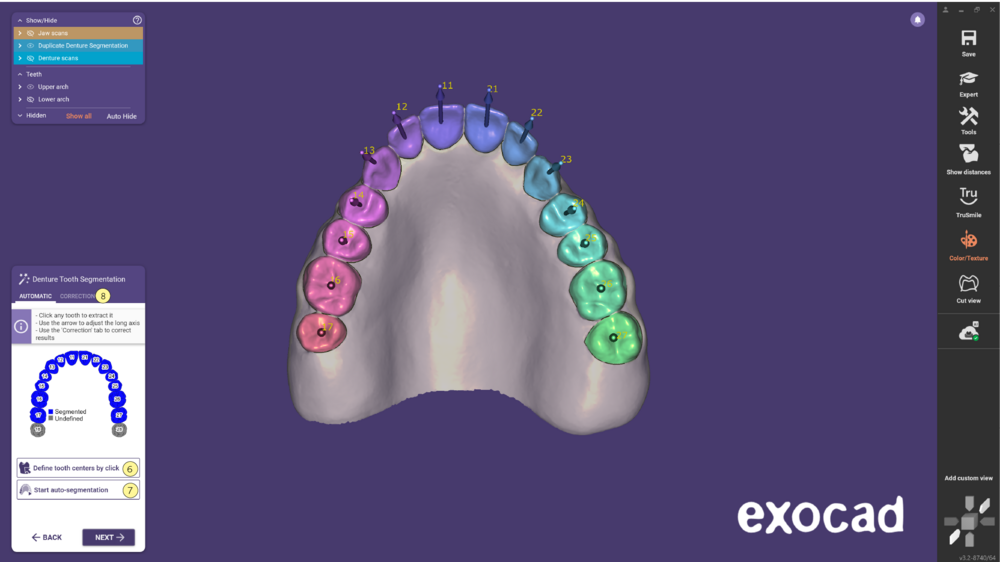
- Click any tooth to extract it, using the Define tooth centers by click [6]. You can also Start the auto-segmentation [7] using the available Cloud services. In the Correction [8] tab, you can make any necessary corrections by drawing. The teeth become colorful after the segmentation is completed.
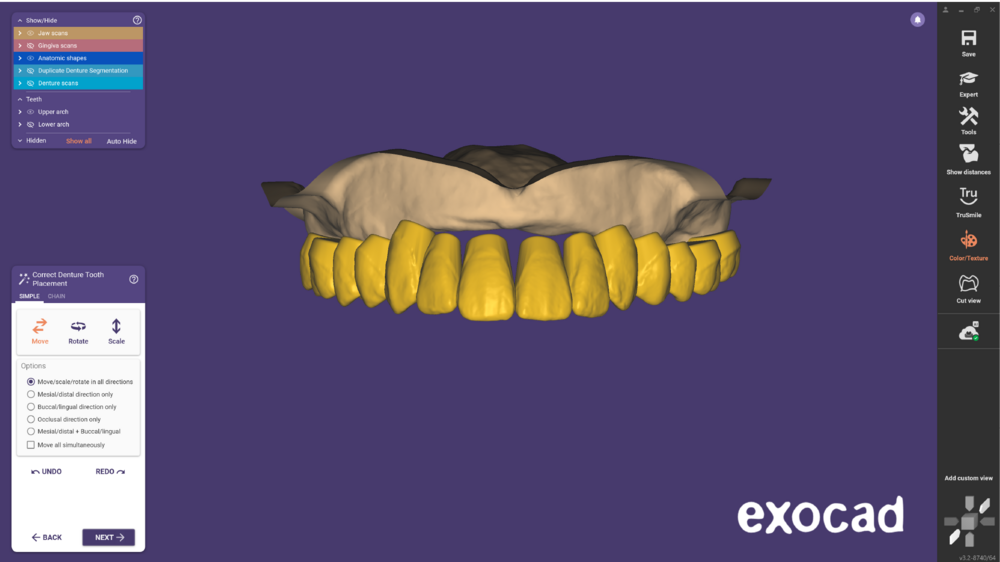
- If required you can correct the denture tooth placement in the next step.
- Afterwards, you can also use the Free-forming tools.
- In the next step you need to design the bottom side of the denture base as you would do for a regular full denture. Click here to find more information about this topic.
- After the bottom side of the denture base is created, the denture base is generated automatically. You can now create the connectors.
- Then, you can Free-form the denture base. Click 'Next' to proceed.
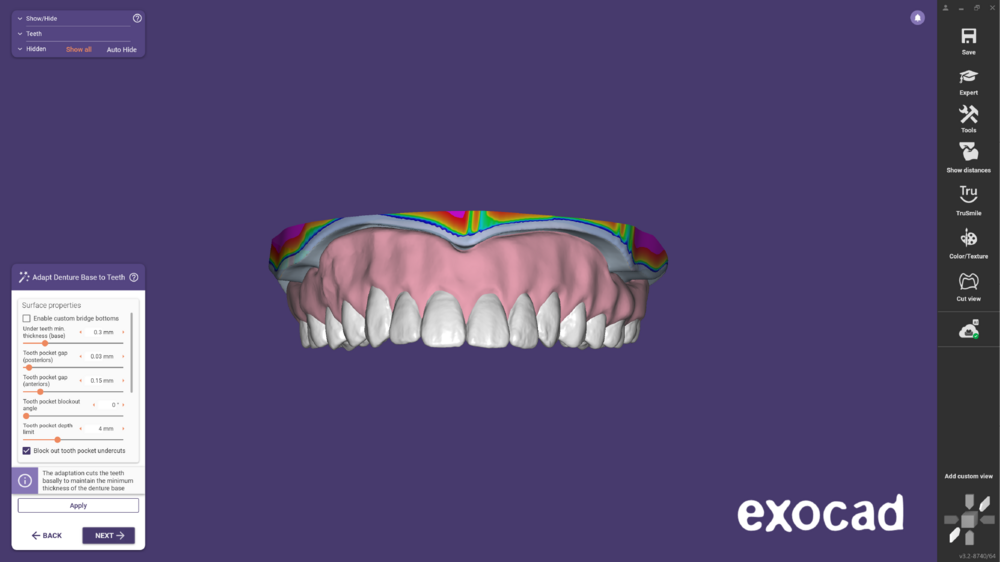
- Once that's finished, you can Adapt Denture Base to Teeth. The software will trim the teeth basally to maintain the minimum thickness of the denture base.
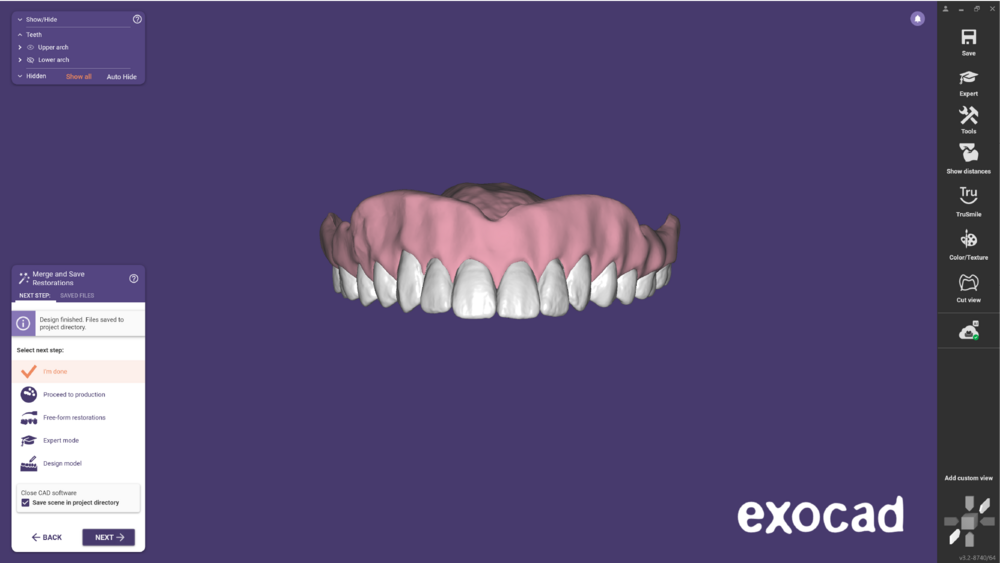
- At last, in the Merge and Save restorations step the design is finished and the files are saved to the project directory.


