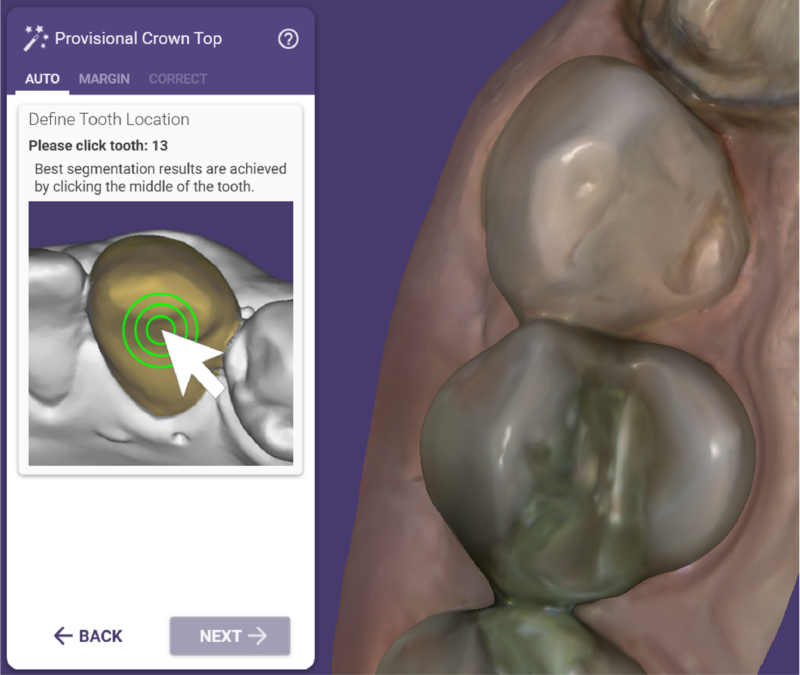
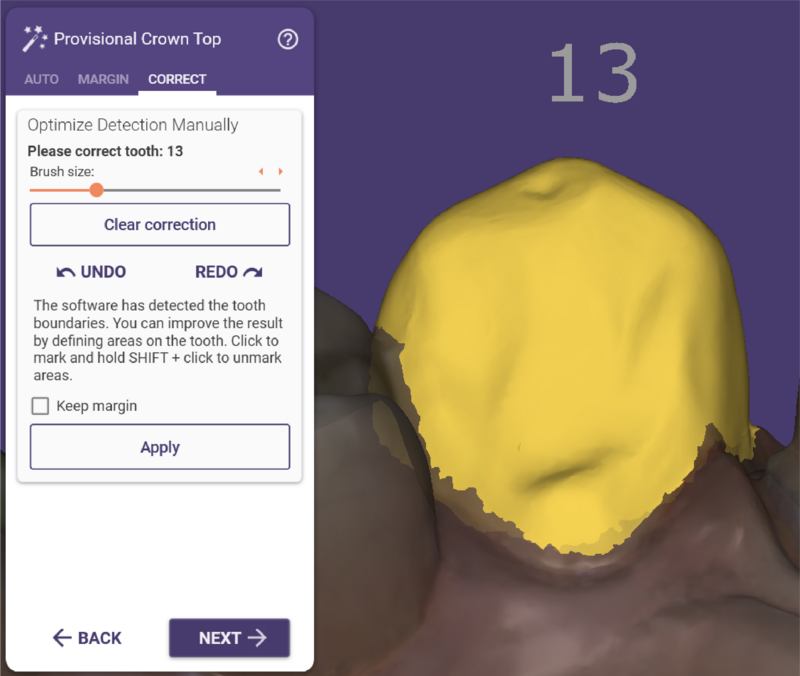
When designing a provisional crown, there is the need to segment the tooth and define the margin for all teeth without the margin line previously marked. To do it, click the tooth you want to define. The margin line is automatically detected.
| The margin line is detected best when you click in the middle of the tooth. |
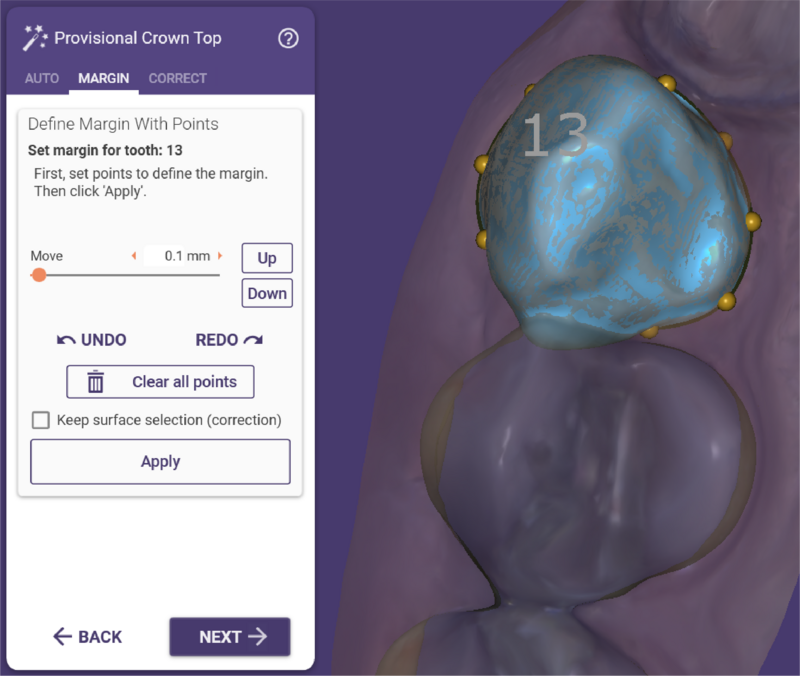
After the margin line is detected, the Wizard automatically switches to the Margin tab. Here you can manually adjust the margin line if necessary.
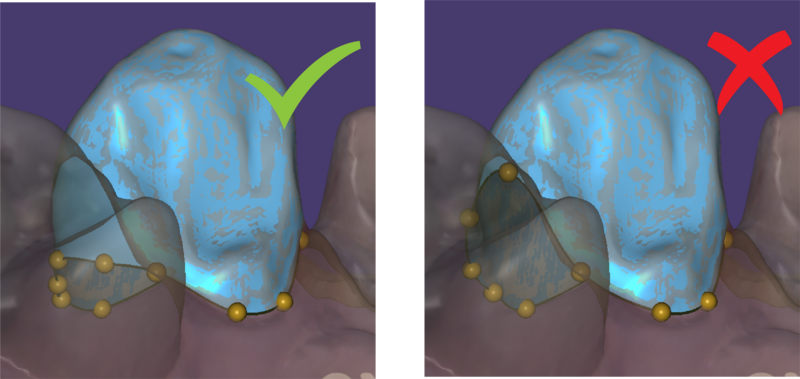
| Make sure that the margin line does not go up to the interdental contact areas. |
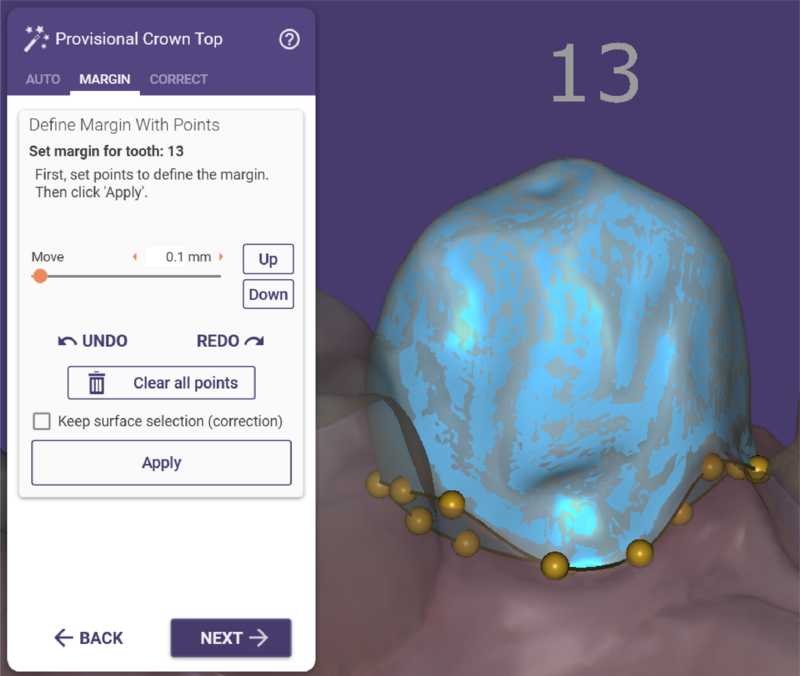
| Try to make sure that the margin is not placed under the adjacent tooth. Also, margin lines of adjacent teeth should not intersect each other. Look at the margin lines from below to check for intersections. |
Manual Correction of the Tooth Boundary Detection
The software will detect the margin line for the tooth you click automatically. If the detection is not correct (e.g some parts are missing from the tooth, or parts that belong to the adjacent tooth are included), you can correct it manually using the Margin and/or Correct tab.
In the Margin tab, you can adjust the margin line using the points indicated on the line. You can drag and drop these points to the desired position and the margin line will be drawn accordingly.
In the Correct tab, you can optimise the margin line by drawing the area included in the margin. This area is displayed in yellow. Using your mouse as a brush tool, you can expand the margin area or, by holding SHIFT, remove tooth areas from the margin area.
If uncheck the Keep margin, the software will recalculate the margin based on the selected surface area. Otherwise, the margin that can be seen in the margin tab, is used.
When you are happy with the result, click 'Next' to proceed.


