Contents
Margin Line Definition
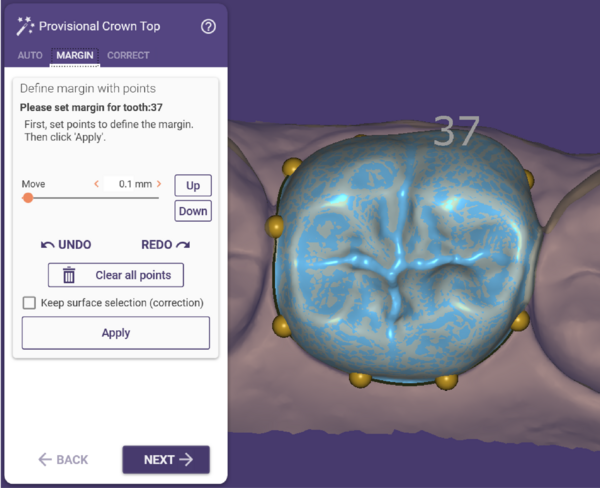
When designing a provisional in the CAD, the first step is to define the margin for all teeth marked as provisional crown or provisional pontic. To define the margin line for a tooth, click the tooth you want to define as provisional. The margin line is automatically detected.
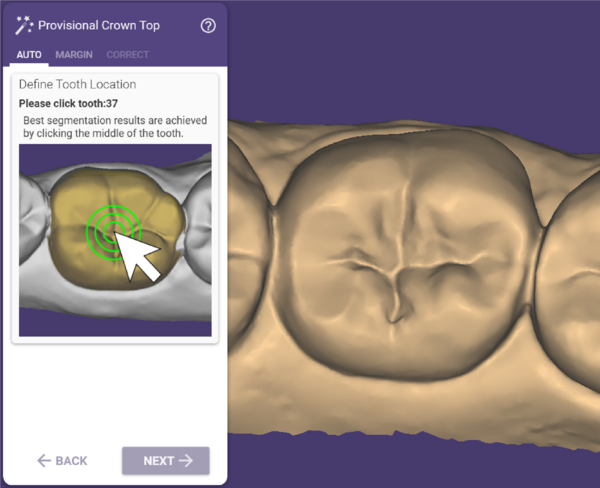
| The margin line is detected best when you click in the middle of the tooth. |
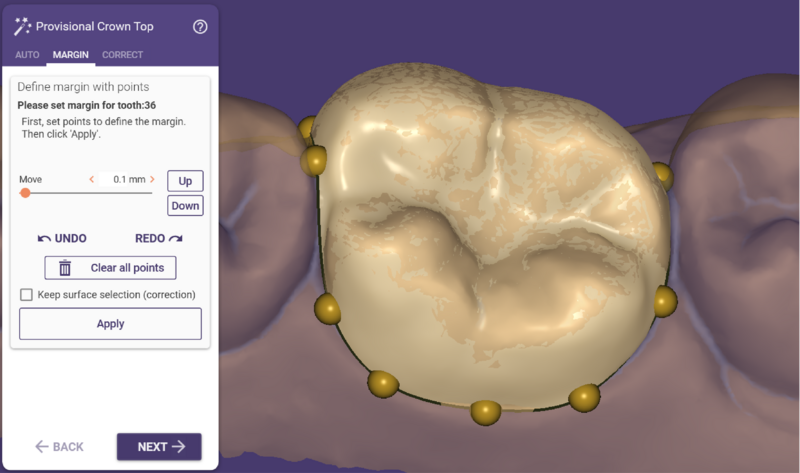
After the margin line is detected, the Wizard automatically switches to the Margin tab. Here you can manually adjust the margin line if necessary.
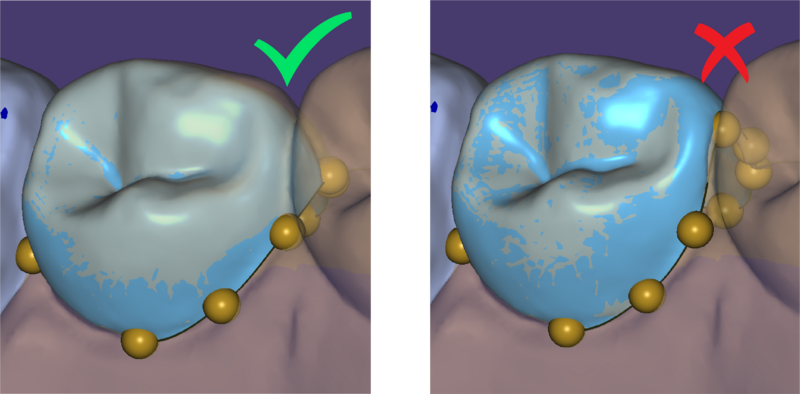
| Make sure that the margin line does not go up to the interdental contact areas. |
| Try to make sure that the margin is not placed under the adjacent tooth, otherwise the provisional tooth will be too large to fit. Also, margin lines of adjacent teeth should not intersect each other. Look at the margin lines from below to check for intersections. |
Manual Correction of the Tooth Boundary Detection
The software will detect the margin line for the tooth you click automatically. If the detection is not correct (e.g some parts are missing from the tooth, or parts that belong to the adjacent tooth are included), you can correct it manually using the Margin and/or Correct tab.
In the Margin tab, you can adjust the margin line using the points indicated on the line. You can drag and drop these points to the desired position and the margin line will be drawn accordingly.
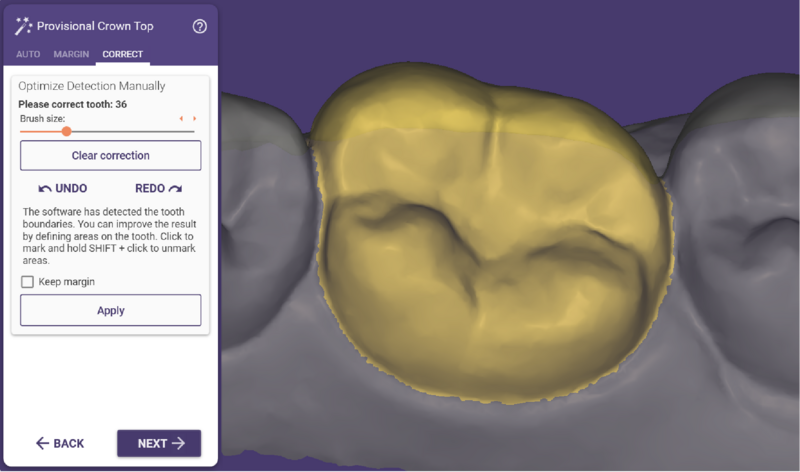
In the Correct tab, you can optimise the margin line by drawing the area included in the margin. This area is displayed in yellow. Using your mouse as a brush tool, you can expand the margin area or, by holding SHIFT, remove tooth areas from the margin area.
If uncheck the Keep the margin, the software will recalculate the margin based on the selected surface area. Otherwise, the margin that can be seen in the margin tab, is used.
When you are happy with the result, click 'Next'.
Free-forming
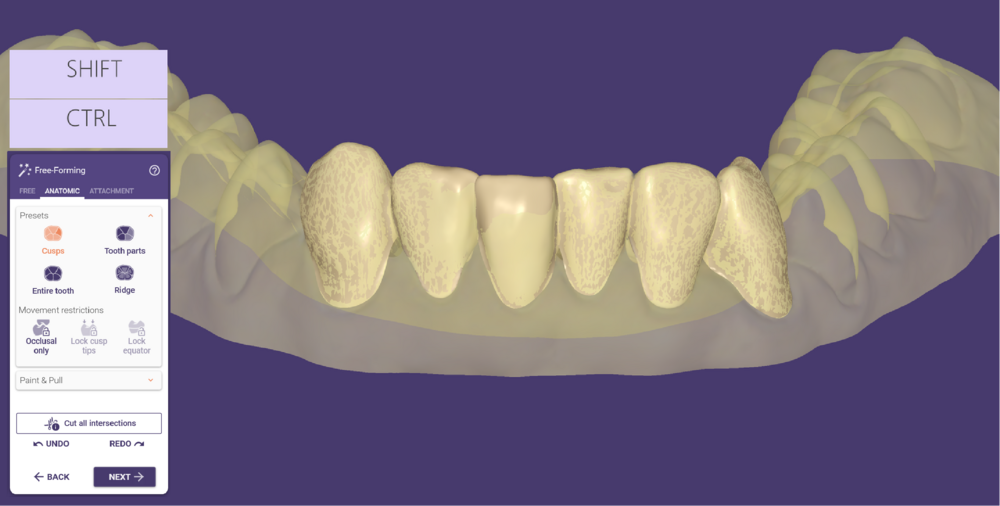
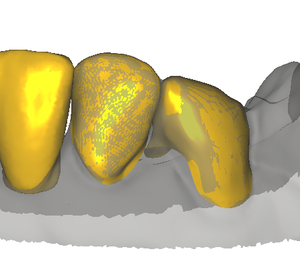
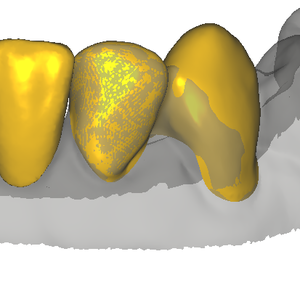
When working on broken dentition, reshape the tooth approximately into the desired shape, because the crown bottom will be created from this form.
|
|
Adjust the shape of the teeth as described in Freeforming
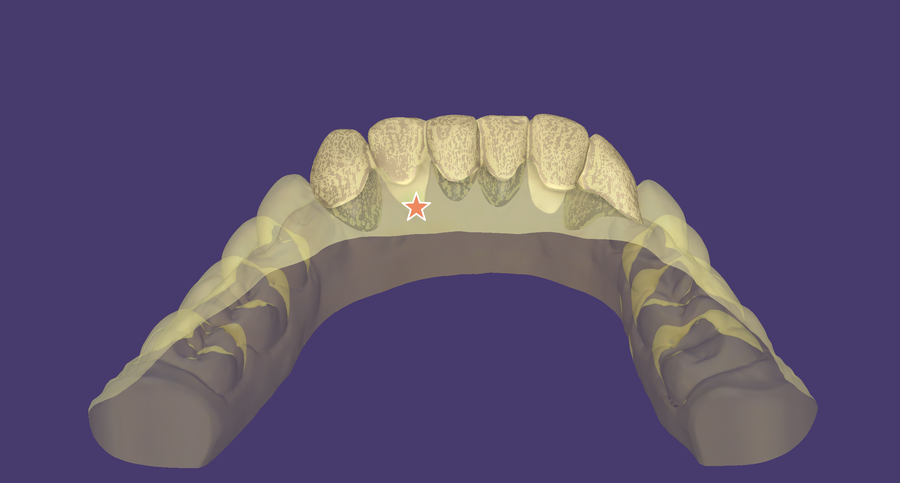
| Provisional pontics can be moved by dragging their lower part with the mouse (see area marked by the star in the screen shot below). |
|
Provisional Crown Bottoms
The next step is to design the inside of the provisional (the virtual preparation).
| To get a view of the generated crown bottoms, set 'Full Anatomy' to transparent in the 'Show/Hide groups' window. |
A number of parameters can be adjusted which the crown bottom's shape.
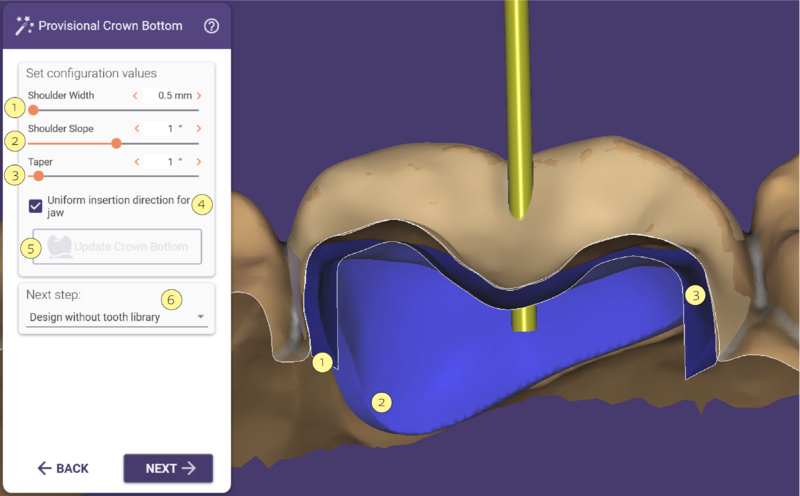
Shoulder Width [1]: This defines the width of the shoulder preparation
Shoulder Slope [2]: This defines the angulation of the shoulder.
Taper [3]: This defines the angulation of the axial walls of the preparation.
Setting the Insertion Axis
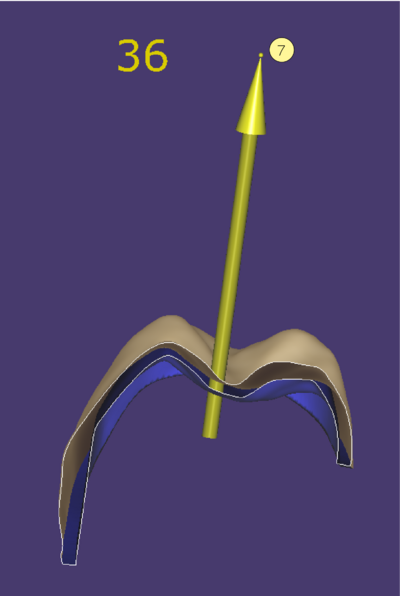
To change the insertion axis, drag and drop the ball [7] above to the insertion axis indicator (yellow arrow). If the checkbox Uniform direction for jaw [4] is checked, the insertion direction will be applied to all provisionals in the jaw. If you uncheck it, you can define individual insertion directions for each provisional.When you have finished adjusting the parameters, click Update Crown Bottoms [5] to apply the changes.
Choosing the next step
By default, the provisional crown shape will be derived from the original tooth shape in the scan data. In case of heavily damaged dentition, it may be better to design the provisional using library teeth instead. The mode of operation can be selected under Next step [6]:
- Choose "Design without tooth library" (default) to use original tooth shape for crowns
- Choose "Design crown using tooth library". If you select this option, the wizard will automatically copy the existing tooth and use it as a pre-op scan.
| This will only affect provisional crowns. Pontics will not be affected, since the mode of operation for pontics is already predefined by your choice of "Anatomic pontic" (use library) vs "Provisional pontic" (use scan data), respectively. |
When done, click 'Next'. The Wizard will guide you through the remaining steps, which you may know from 'regular' crown and bridge designs.


