To copy predefined tooth shapes, either from a pre-operative model or from a wax modellation, two distinct features are available:
- Usage of pre-op scan
- Waxup copy milling
Both methods have their distinct advantages and disadvantages. Read below to understand the difference.
Contents
Pre-op scan
- When using a pre-operative scan, an additional scan is loaded to help you create your design
- The actual construction is performed the classical way, by loading tooth models, adapting/freeforming them, and designing connectors
- Tooth models can be adapted to the pre-op scan
Waxup feature
- When using waxup feature (digital copy milling), the construction is created directly from the scan data
- No tooth models are loaded. No connectors are created, but of course connectors present in the scan will be copied
- See section "Input data requirements for Waxup feature" for the special requirements regarding scan data
Pre-op scan workflow
In the DentalDB module, select a restoration type, e.g. Anatomic Crown or Coping. Under "Additional Scans", choose "Pre-op model. See section "Defining jobs for individual teeth" for details. The scanner software will prompt you for an additional scan
 When starting the CAD software, the pre-op model will be loaded. A window will appear in the wizard that offers you to correct the placement of the pre-op scan relative to the regular model scan.
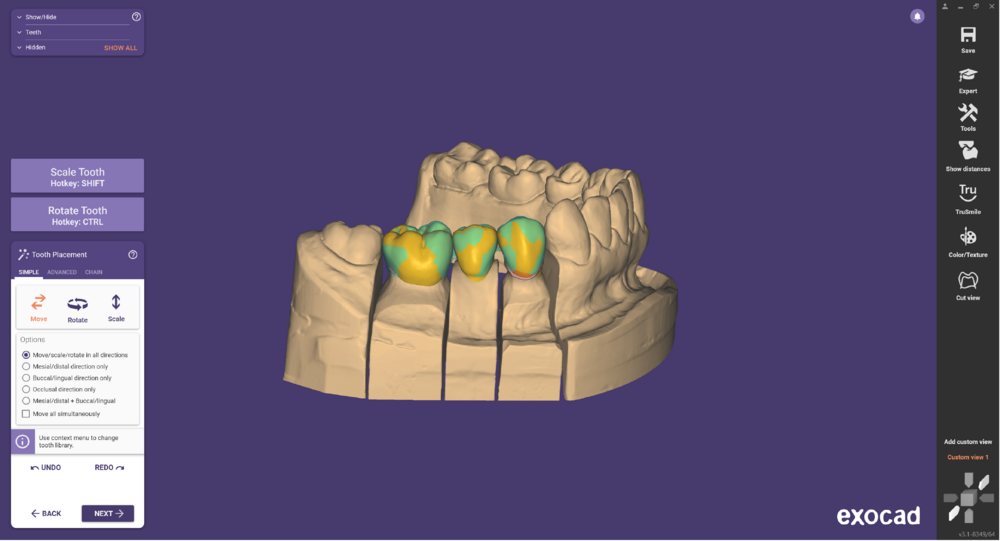
Tooth models are loaded, and you are prompted to correct the placement. Adjust the tooth placement so that the model teeth are close to the pre-op model - this will lead to better results later on, when you adapt the model teeth to the pre-op scan.
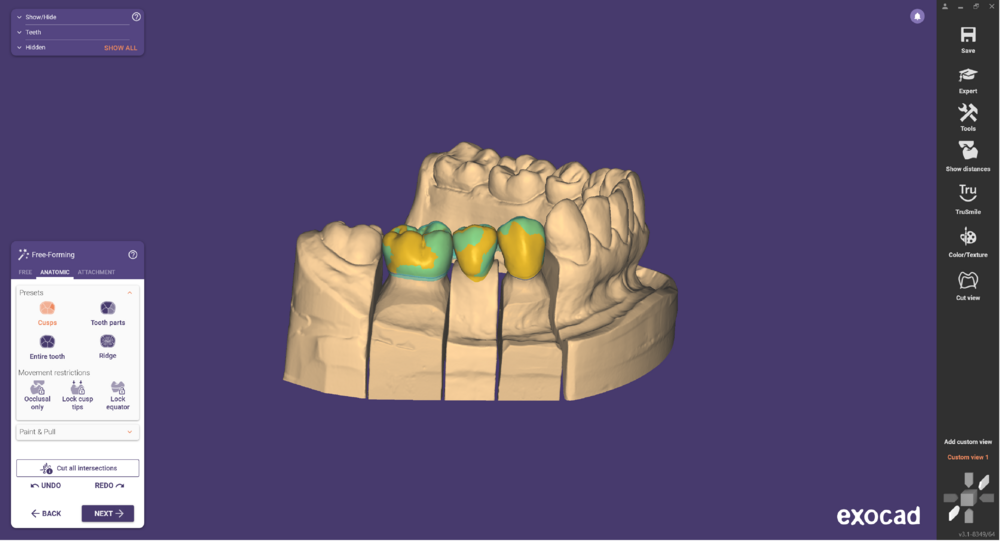
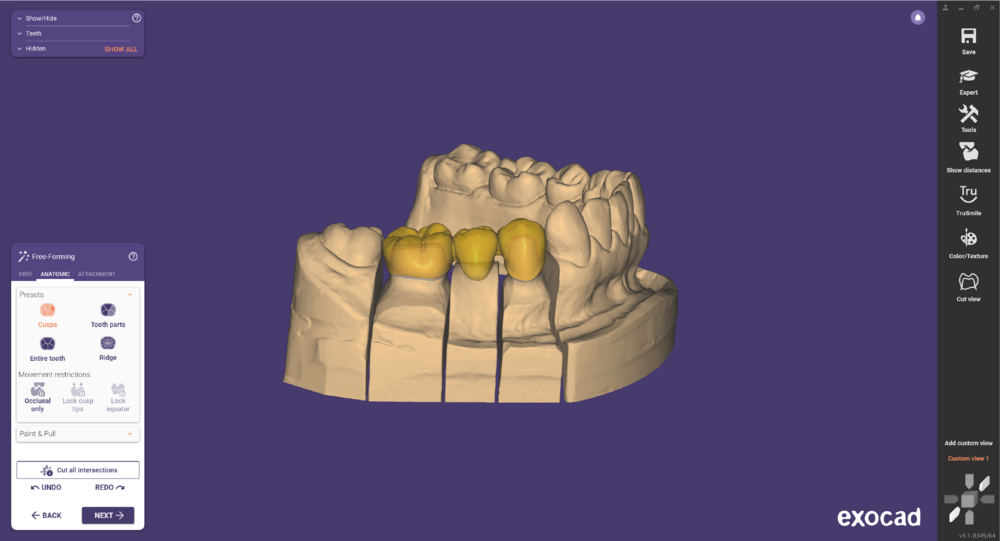
You can also use the freeforming options to move the model teeth closer to the pre-op model scan.
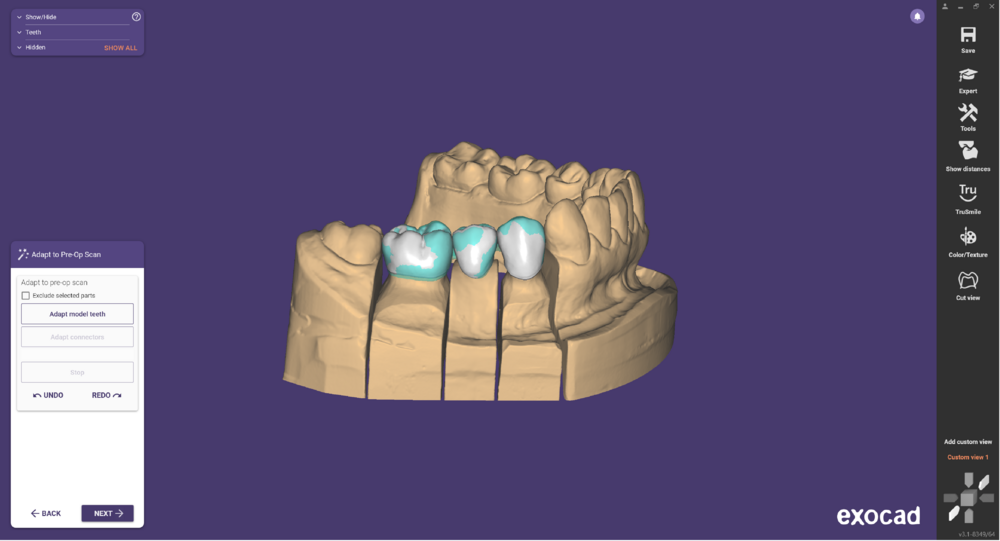
When a pre-op scan is present, the Wizard will give you the option to adapt tooth models to the pre-op model scan. Click "Adapt tooth models" to start the adaptation. Model teeth will now be adapted to the scan, little by little. You can see the progress - once you think the adaptation is good enough, click "Stop".
| The more closely you manually adapted the teeth to the pre-op model beforehand, the better the result will be |
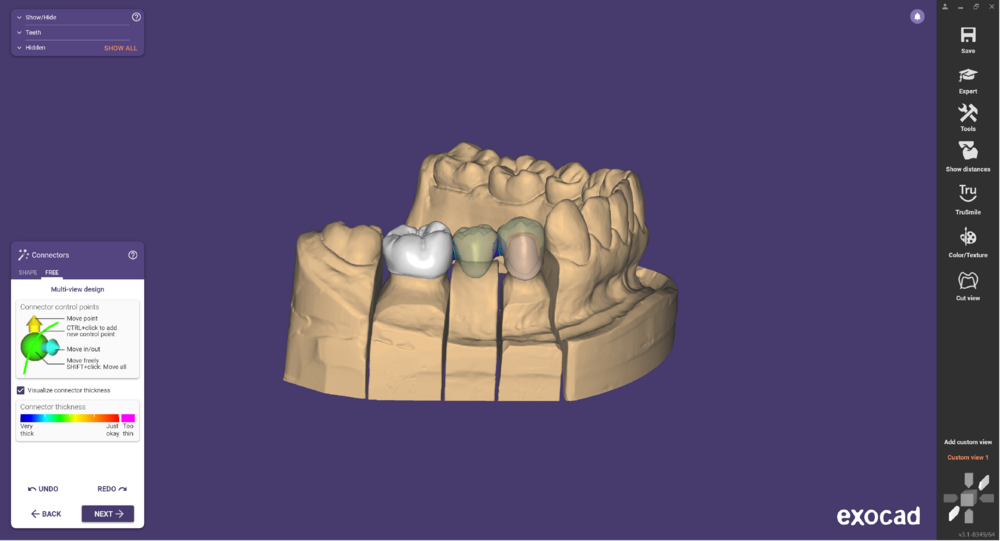
Connectors are not copied from the pre-op model scan, and are designed the classic way.
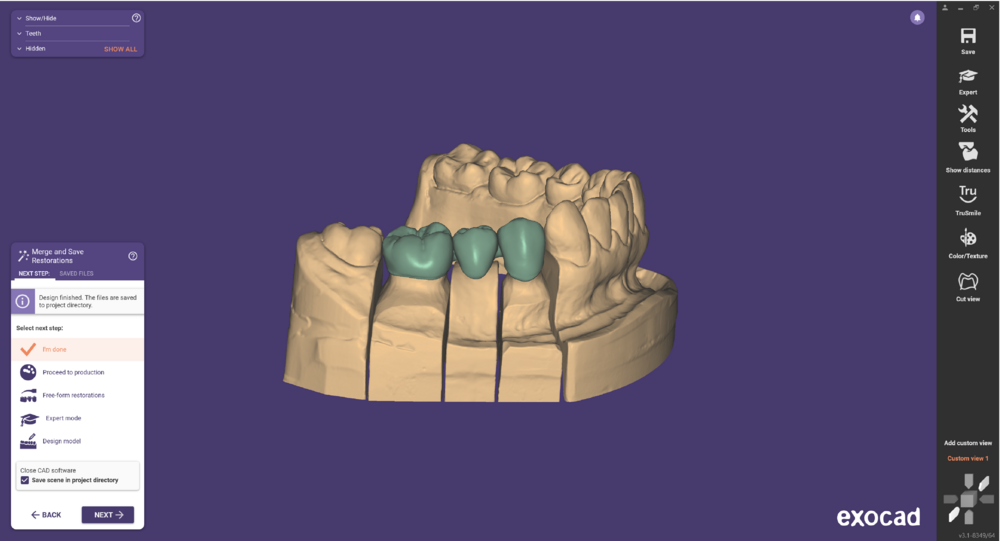
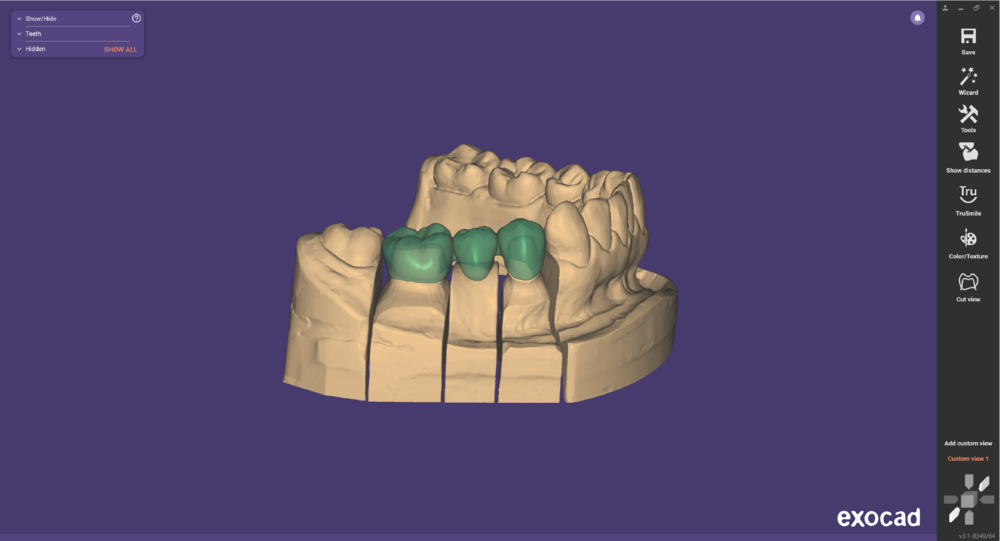
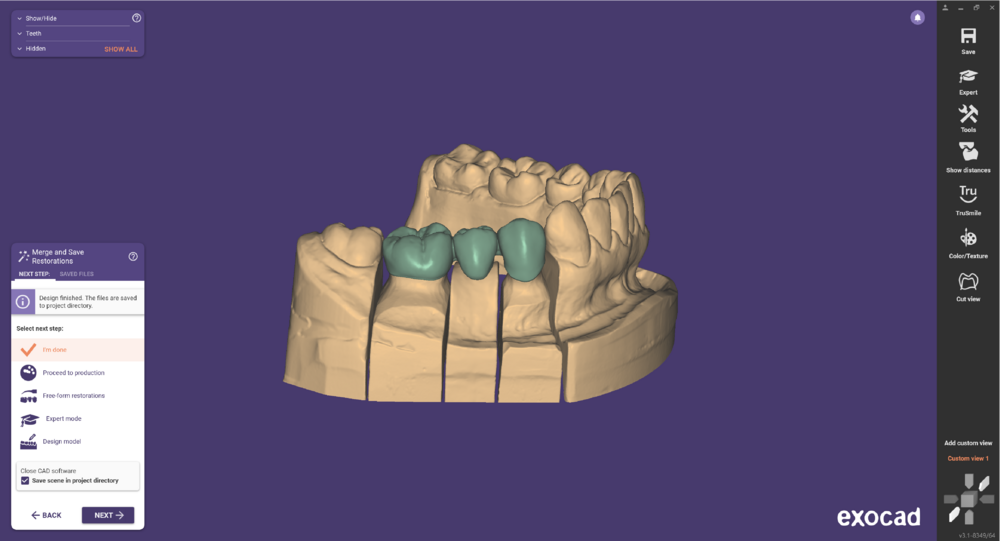
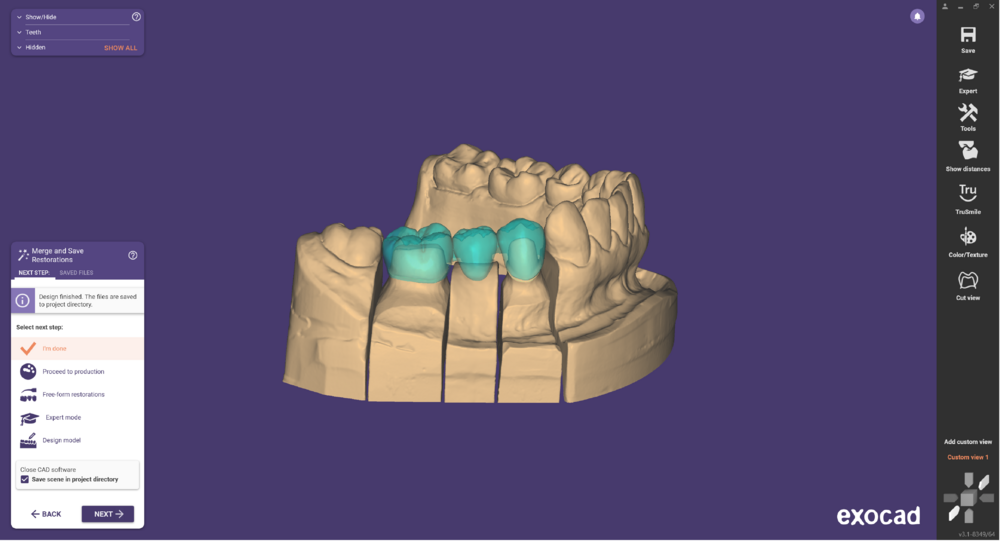
The screen shot above shows the finished reconstruction made using the "pre-op scan" feature.
Waxup workflow
When using the Waxup feature, the work flow is more compact. In DentalDB, chose "Waxup" as reconstruction type for all prepped teeth (for a 1:1 copy), or "Waxup reduced" if you wish to create a framework from a full anatomic model (cutback). The scanner software will prompt you for an additional scan, and perform the necessary post-processing (removal of double surfaces between waxup scan and model scan).
The above image shows a proper waxup scan. Always make sure that the input data requirements for Waxup feature are met.
After designing the crown bottoms, the waxup will be processed (any holes will be closed, and it will be adapted to the preparation margin). Note that no tooth models are being used at all. You can now free-form on the waxup, by adding/removing material, or smoothing.
Already in the next step, the final restoration will be created.
| Since Waxup-based restorations are created directly from the scan data, the CAD software cannot assure that the output data will meet the necessary requirements for Selective Laser Melting, even if the option "Optimize for Selective Laser Melting" is switched on. |
Troubleshooting the "Waxup" feature
Problems with the "Waxup" feature are almost always related to improper input data. If you run into problems, closely check that the conditions defined under "Input data requirements for Waxup feature" are met. In some cases, manual cropping of waxup scan data above the margin line may help. Consult your scanner supplier for further information regarding compatibility between the scanner and exocad's "Waxup" feature.


