Overview
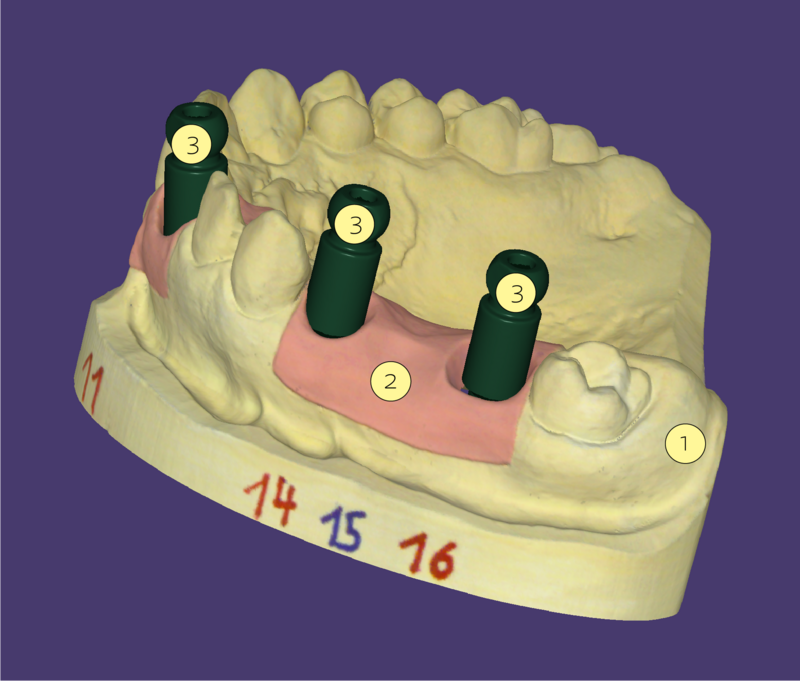
After the CAD process have been started we see three scans
- Model scan [1]
- Gingiva scan[2], if 'Separate Gingiva scan' is selected in DentalDB
- Scan of the scan abutment [3]
The exact workflow presented to you by the Wizard will depend on whether you're designing a custom abutment, or a screw retained structure.
Switch Implant Connection Library
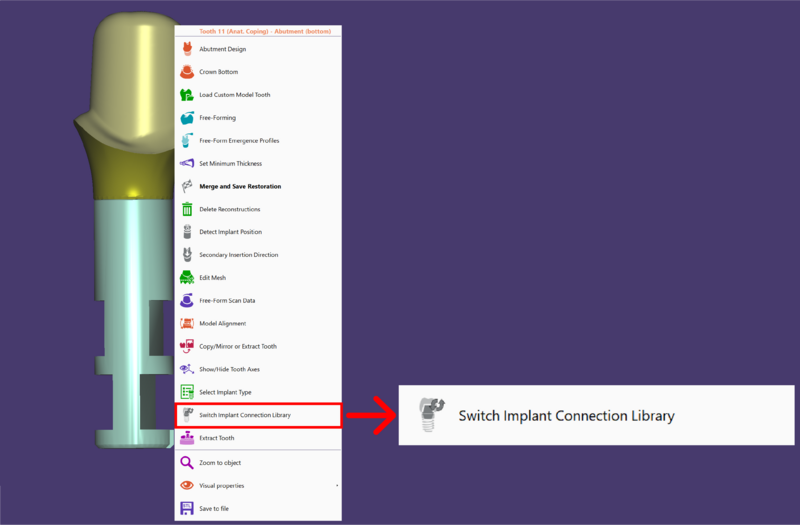
To switch the implant connection during the design of the reconstruction please enter in the expert mode and follow the described steps:
Step 1 : Select the option Switch Implant Connection Library
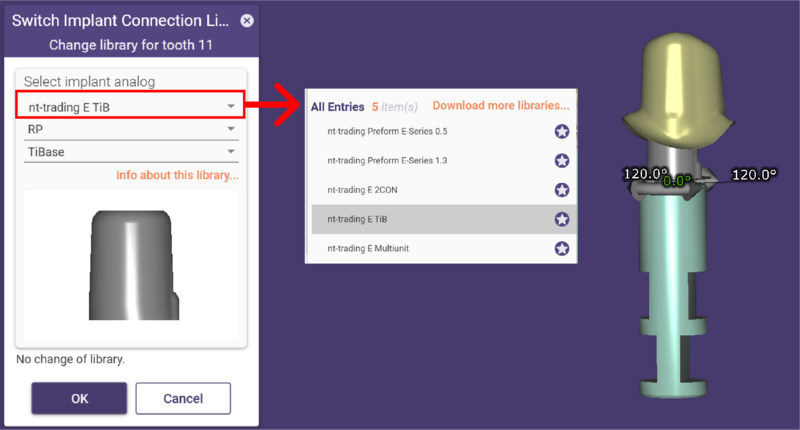
Step 2: Choose one of the compatible library options from the drop-down menu
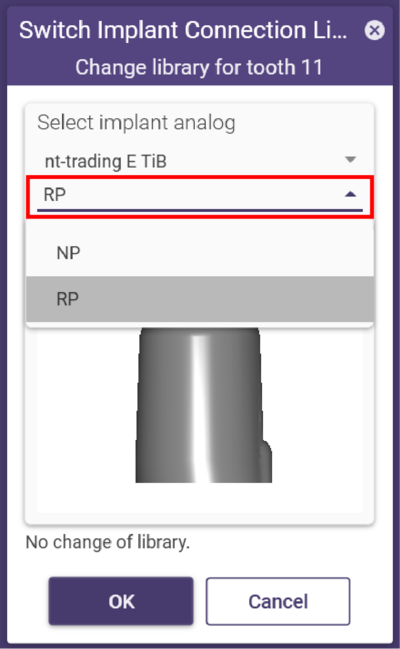
Step 3: In some implant connections you can also change the diameter as seen below
Select Implant Type
In order to change the implant reconstruction type, for example, from custom abutment to screw retained, please enter in the expert mode and select the option Select Implant Type
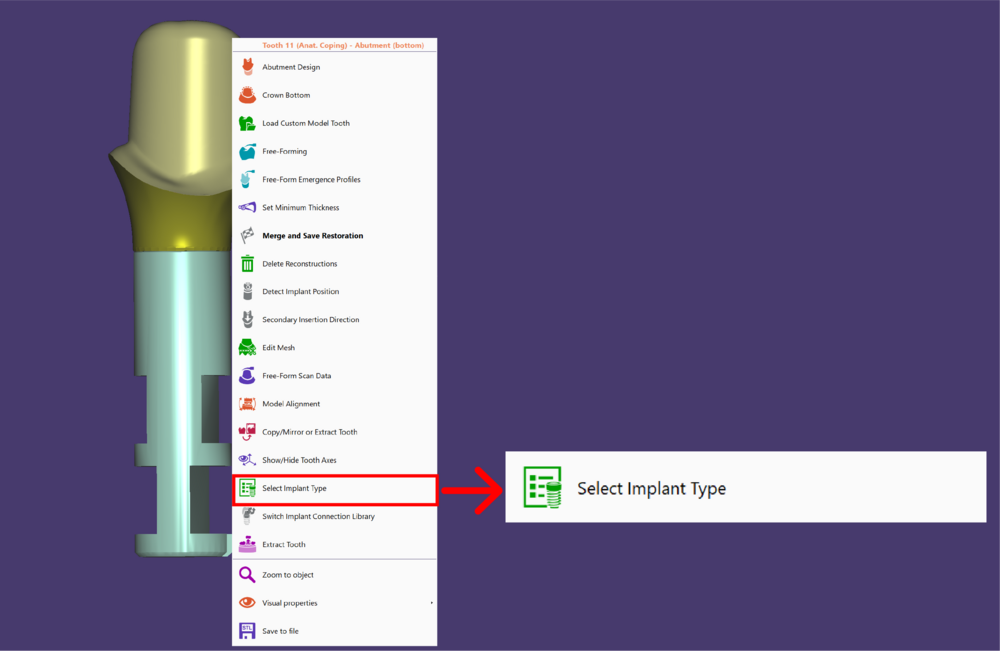
In the drop-down menu, you can now choose a different option
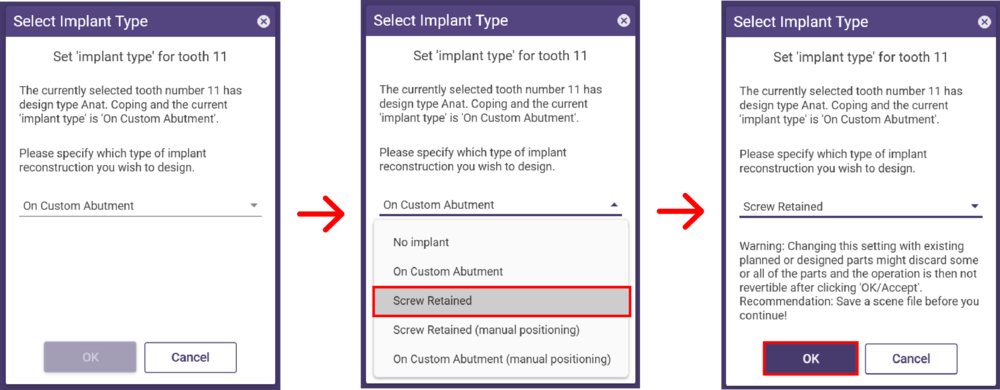
Click OK to apply the changes.
| Changing this setting with existing planned or designed parts might discard some or all of the parts and the operation is not reversible after clicking 'OK'. Save a scene file before you continue |


