| Ensure not to select a minimum thickness below the required thickness of the restoration part’s material. |
Setting the Minimum Thickness
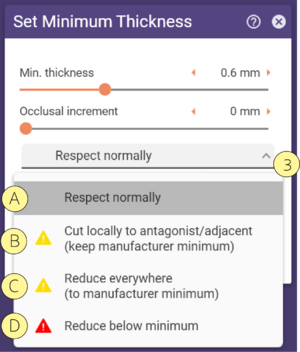
Using the Min. thickness slider [1], you can define the minimum thickness. Define the occlusal increment using the corresponding slider [2]. Select the minimum thickness behavior from the drop-down menu [3]. Click Apply [5] to implement the changes.
| Below manufacturer minimum | Manufacturer minimum | Current set value |
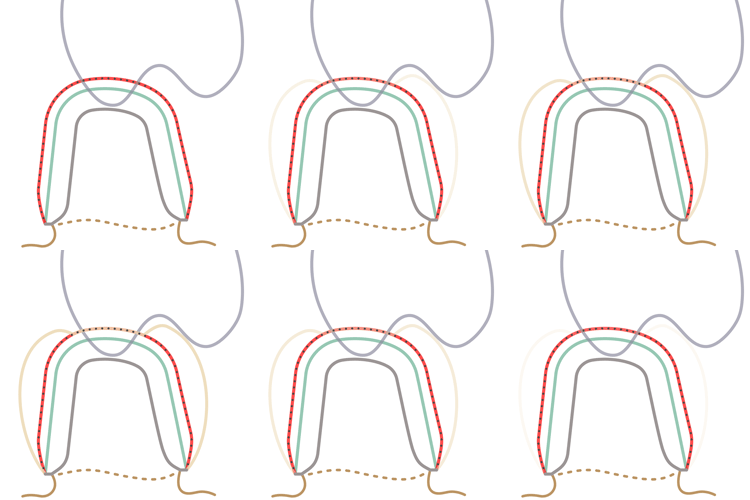 |
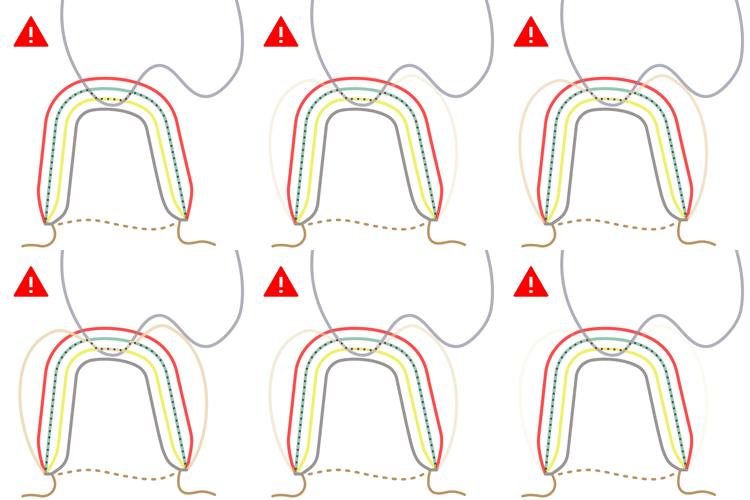
Resulting minimum thickness Current set value Manufacturer minimum Crown Bottom |
[A] Respect normally: respect the minimum thickness completely, maintaining the current set value.
| Resulting minimum thickness Current set value Manufacturer minimum Crown Bottom |
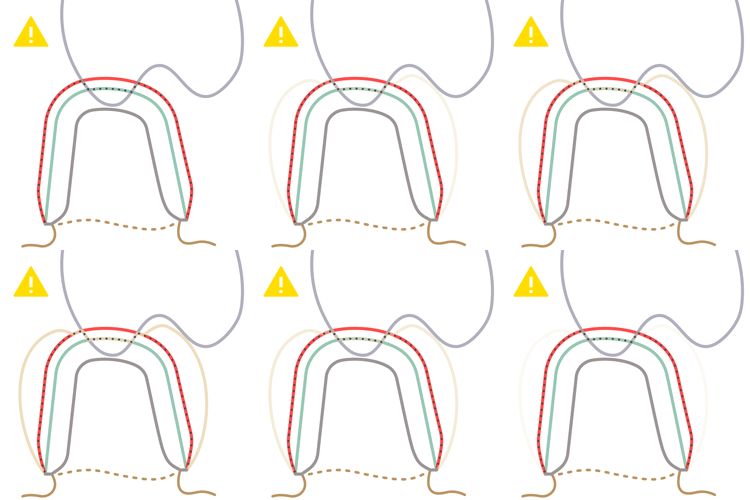
[B] Cut locally to antagonist/adjacents : cut the minimum thickness at the antagonist and approximal neighbors to the manufacturer minimum(e.g. for cases in which the minimum thickness intersects with the antagonist or approximal neighbors).
| Resulting minimum thickness Current set value Manufacturer minimum Crown Bottom |
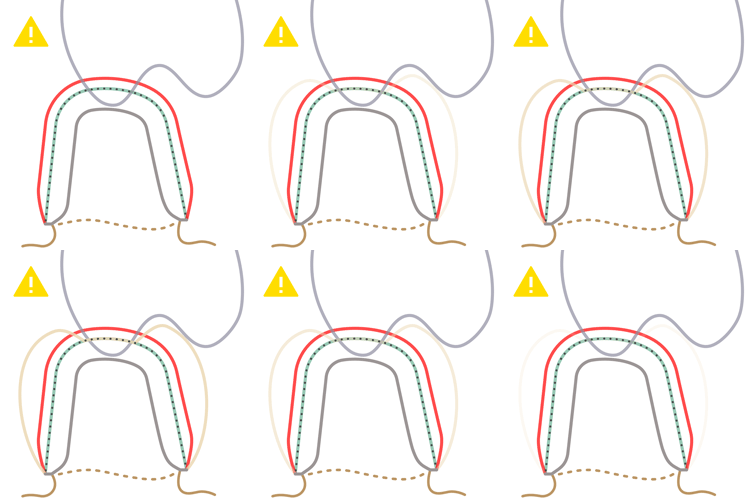
[C] Reduce everywhere : reduce the minimum thickness to manufacturer minimum.
| Resulting minimum thickness Current set value Manufacturer minimum Below manufacturer minimum Crown Bottom |
[D] Reduce below minimum : reduce minimum thickness globally to the manufacturer minimum value, and additionally, go below the manufacturer minimum in the areas that are too close to the antagonist/adjacent.
Setting the Minimum Thickness for Inlays, Onlays and Veneers
For inlays, onlays, and veneers, there is a third slider [4] available in the Set Minimum Thickness window.
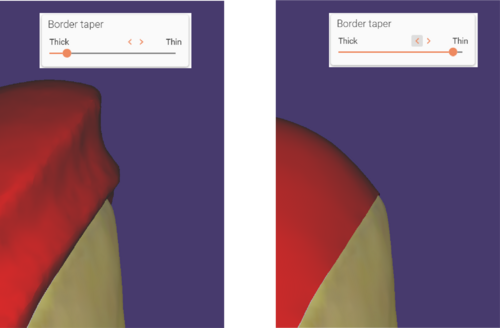
 Using the Border Taper slider [4], you can set the minimum thickness at the transition zone between the inlay border and the preparation margin. This setting indirectly influences the border shape of the inlay, as it determines how thick or thin the design
can be towards the preparation margin. See the example below.
